Pom-Pom and Tassel Garland
0
on Mar 21, 2019, Updated Mar 05, 2025
This post may contain affiliate links. Please read our disclosure policy.
The older I get; the longer winter seems to stick around. Therefore, I’m celebrating the arrival of Spring with color, color, and more color!
Colorado is a beautiful state but unfortunately, during the winter months, the grass dies, trees lose their leaves, and all vegetation goes into hibernation. The brightest color we see is white from winter storms (is white even technically a color?). I’m jumping natures’ gun and fulfilling my need for color now.
Pom-poms and tassels are huge in Mexico and were all the rage last summer and I love them. They embellished hats, shoes, bags, and jewelry!

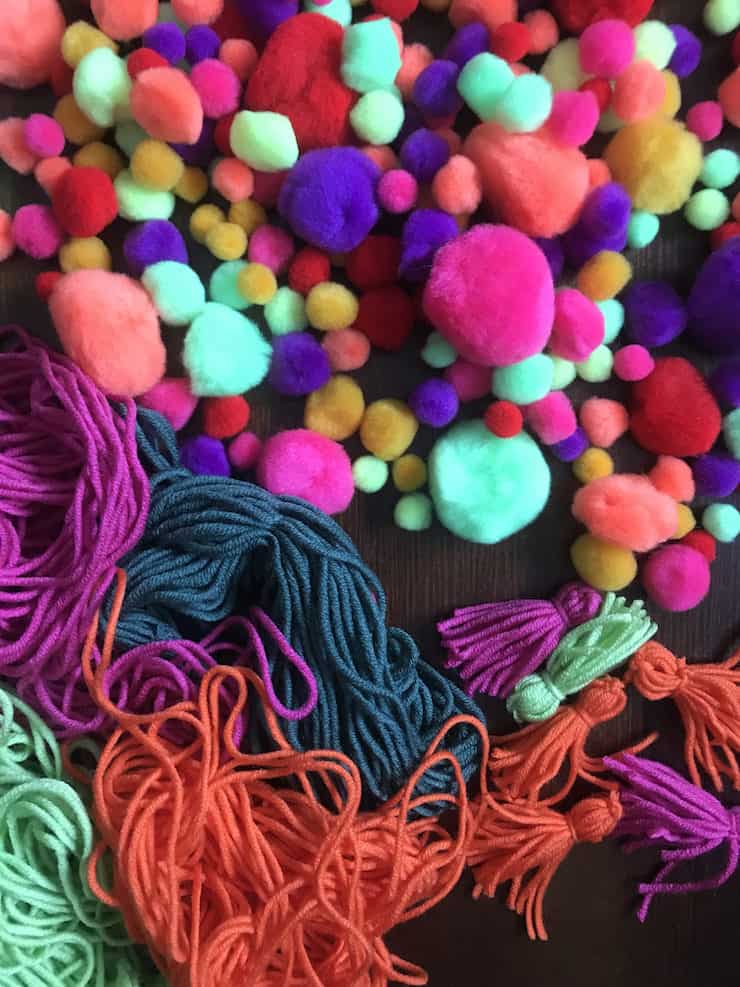
This little garland is fun to make and can be made and used in a number of different ways. We used pre-made pom-poms but if you have time, you can easily make your own.
If you decide to incorporate tassels you can also buy them pre-made; we decided to make our own.
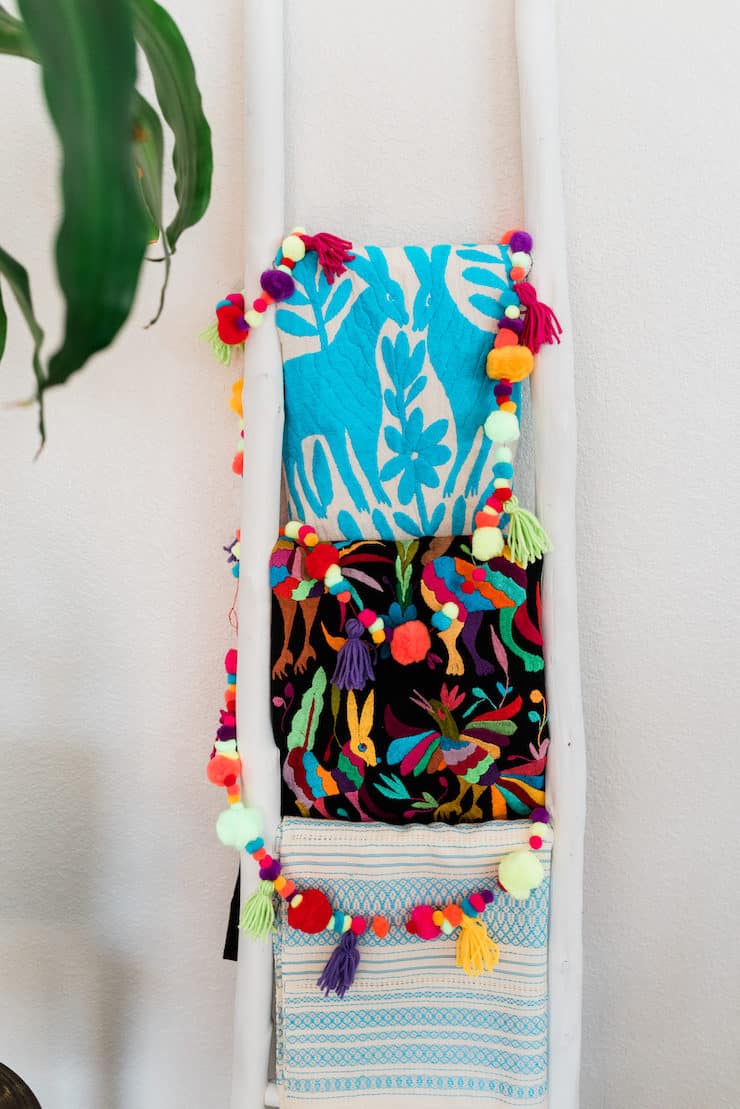
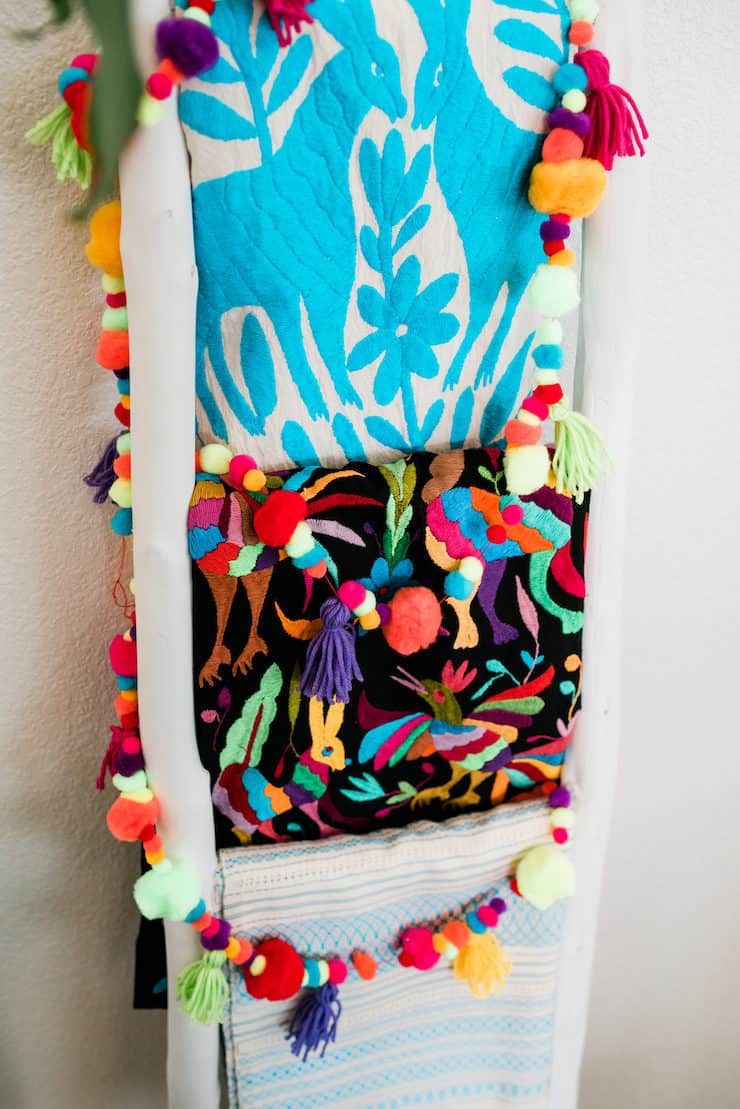
Add a colorful and bohemian touch to your home interior with this pom-pom and tassel garland. Perfect to drape around shelving and furniture such as this ladder, use it as fiesta decor for Cinco de Mayo, Christmas tree garland, or to drape on your Dia de los Muertos altar.

Pom-Pom and Tassel Garland
Equipment
- Needle
- Scissors
Ingredients
- Pom-poms
- Yarn
- Heavy weight thread
Instructions
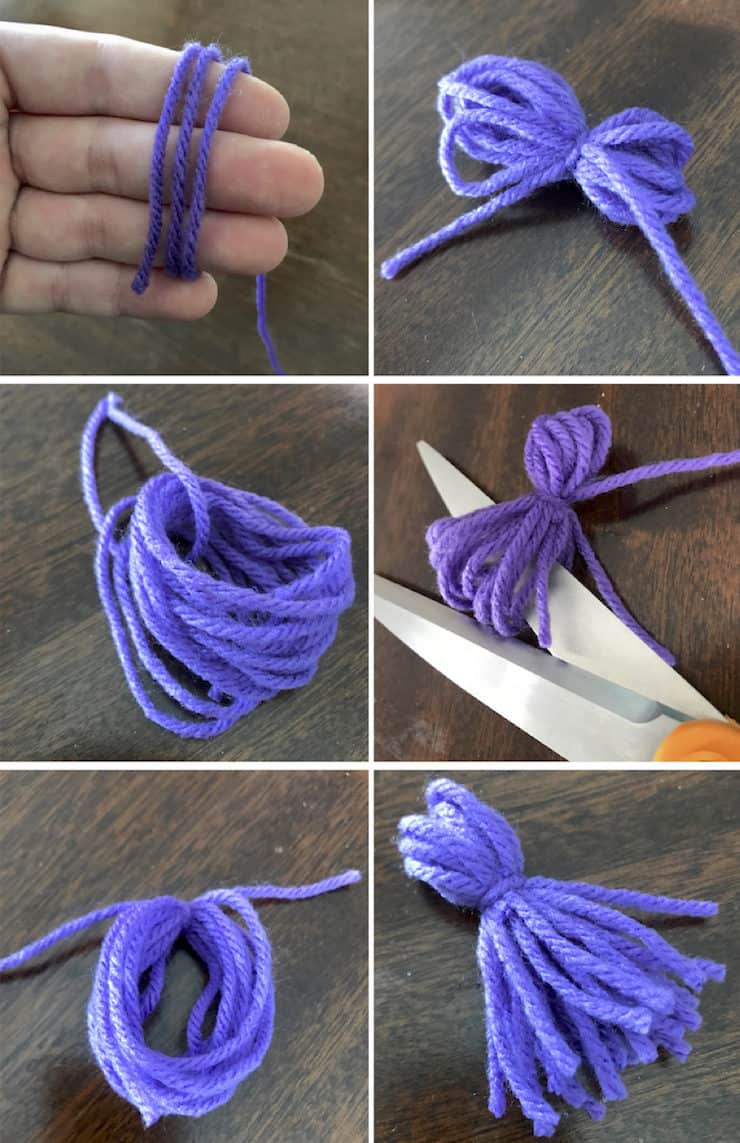
- Make the tassels by wrapping the yarn around your first 3 fingers 15 times. Tie the top of the the yarn bundle to hold it all together.
- Then tie once again to create the ball at the top and cut the remaining pieces, so they are single.
- Thread your needle and carefully string and alternate the pom-poms and tassels with the needle and thread. Be sure to leave enough thread on each end, looped, for hanging.
Notes
Nutrition information is automatically calculated, so should only be used as an approximation.