Grilled Fruit Cheese Board + How to Make a Wooden Cheese Board
1
Updated Sep 26, 2019, Published Aug 10, 2018
This post may contain affiliate links. Please read our disclosure policy.
I hate even asking this question, but where the heck did summer go? My kids started school yesterday and I just can’t get over it. Our daughter is now a junior in high school and our son a fifth grader. I just can’t even believe it. I cried my little eyes out in my car after I dropped them off. It’s true what they say — they grow up in the blink of an eye.
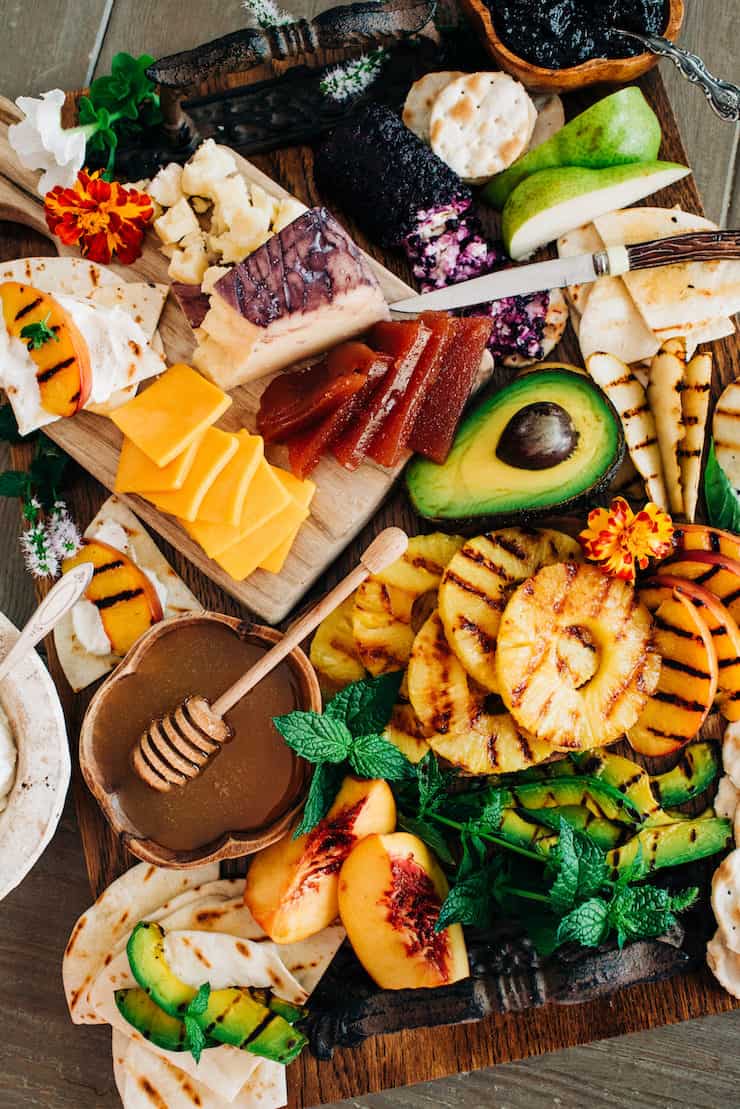
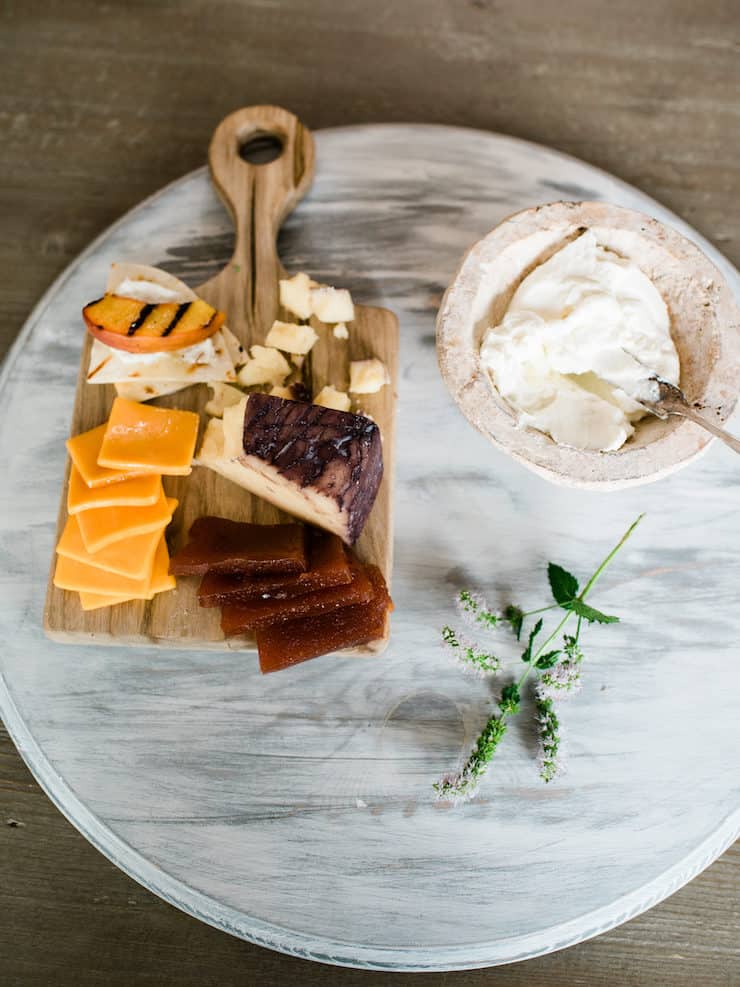
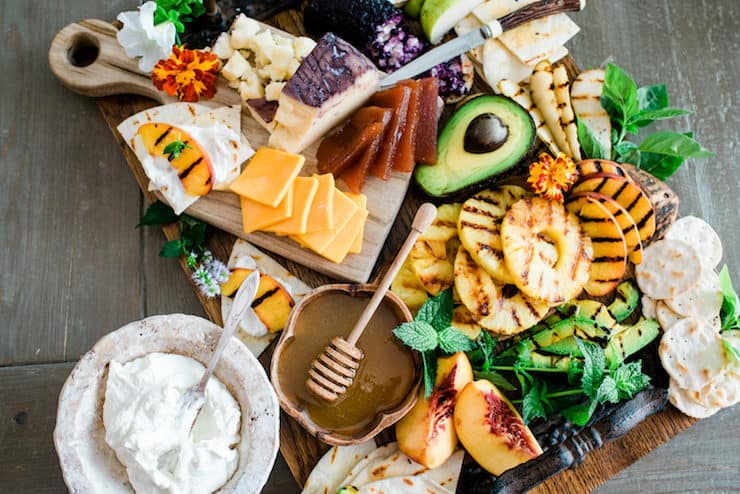
With summer almost over I wanted to share a simple grilled appetizer that will be a hit with all your guests. I always have cheese and water crackers on hand and can whip up a cheese board like nobody’s business, but for this cheese board I grilled slices of fresh fruit elevating the presentation, because everything looks sexier with glorious grill marks.
I recommend brushing slices of fruit with some olive oil and grilling the fruit on a grill pan rather than grilling small slices of fruit on an outdoor grill.
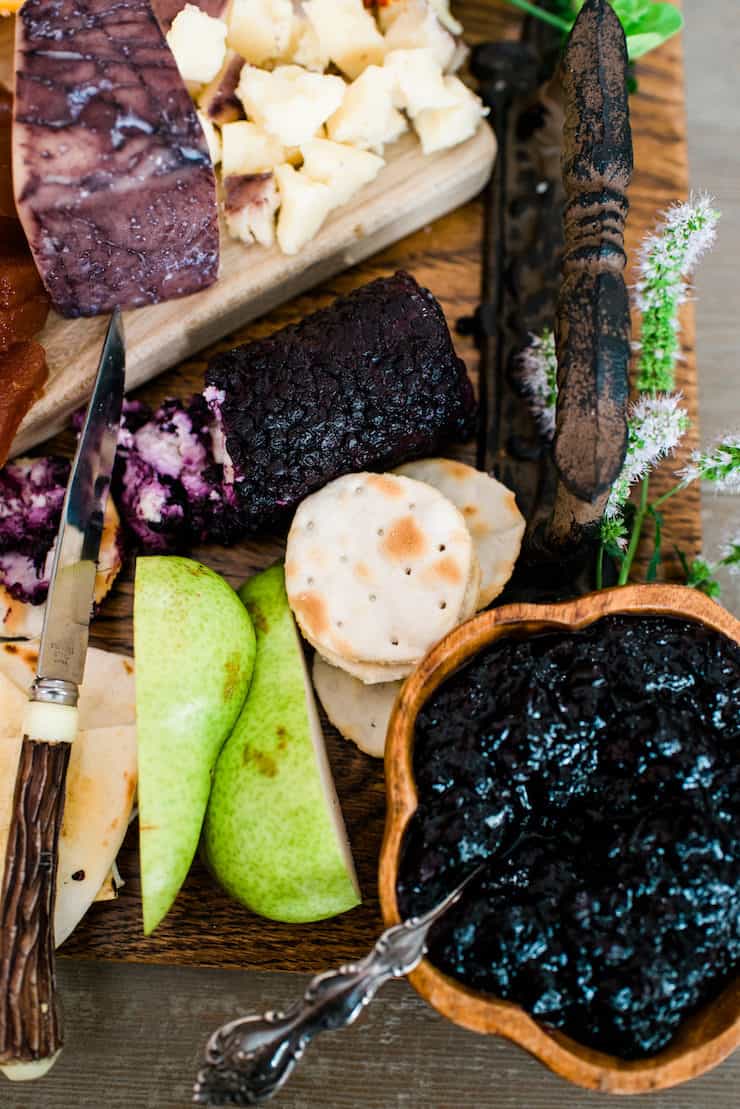
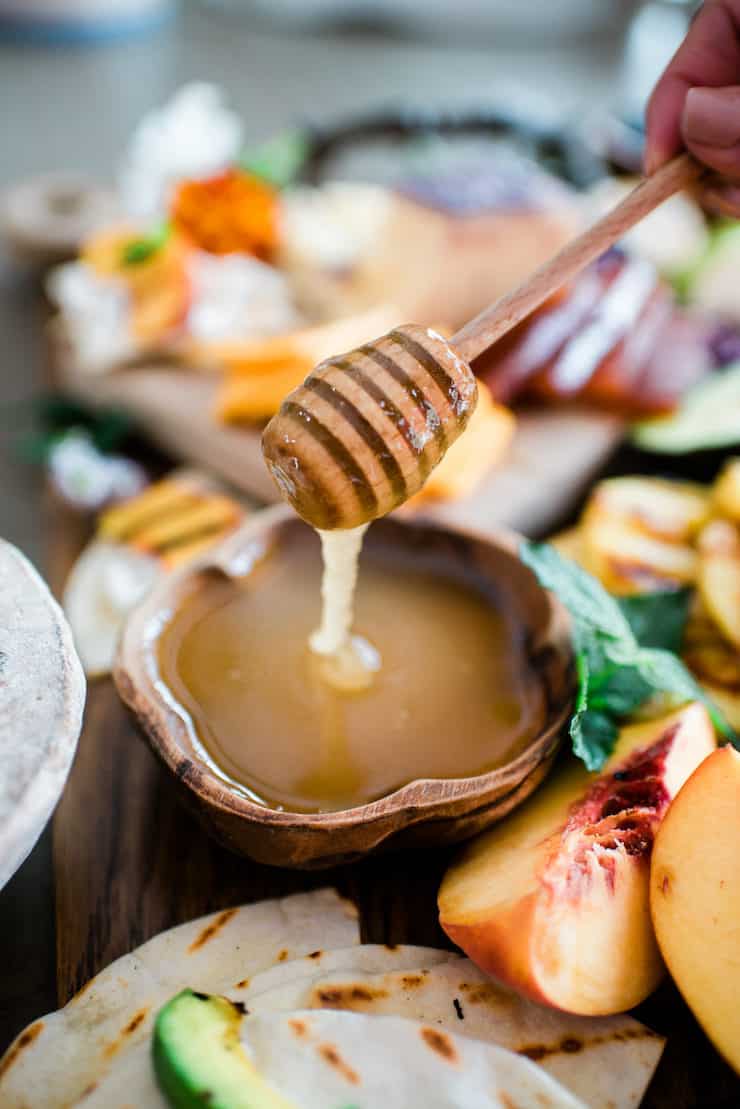
I also included bowls of fresh honey and wild huckleberry jam from our recent family vacation to Yellowstone. I’ll share more about that trip later.
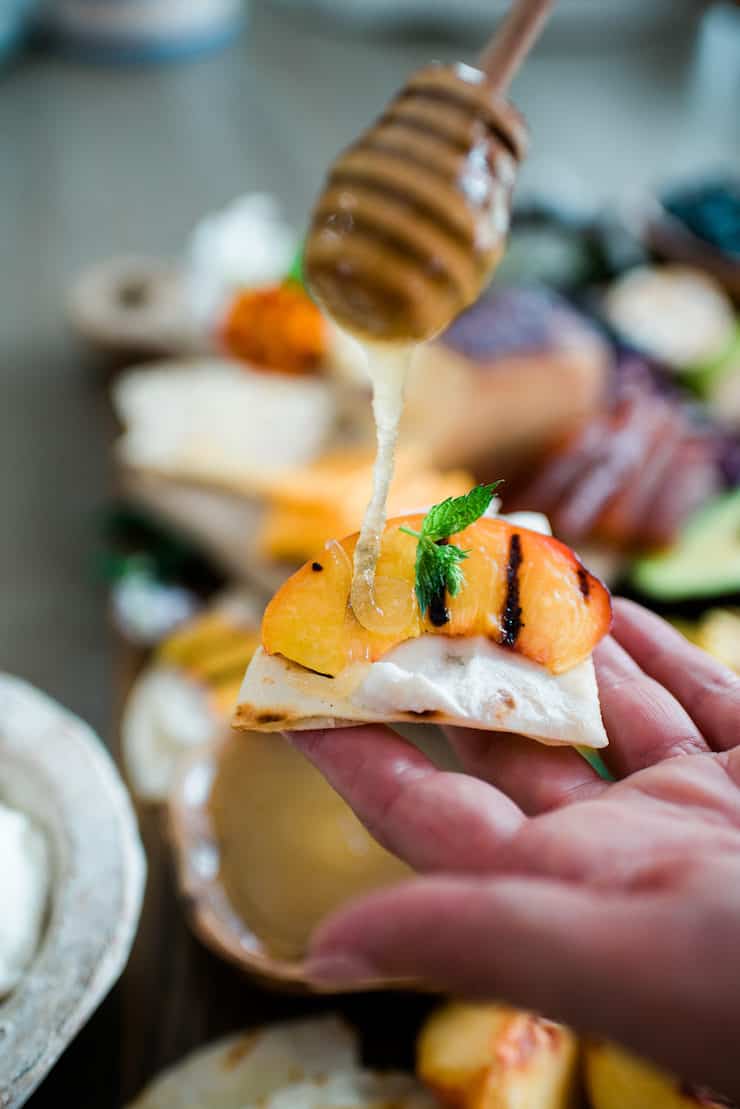
Grilled peaches with flour tortillas smothered with ricotta cheese and a drizzle of honey is one of our favorite summer treats and I included it on this board.
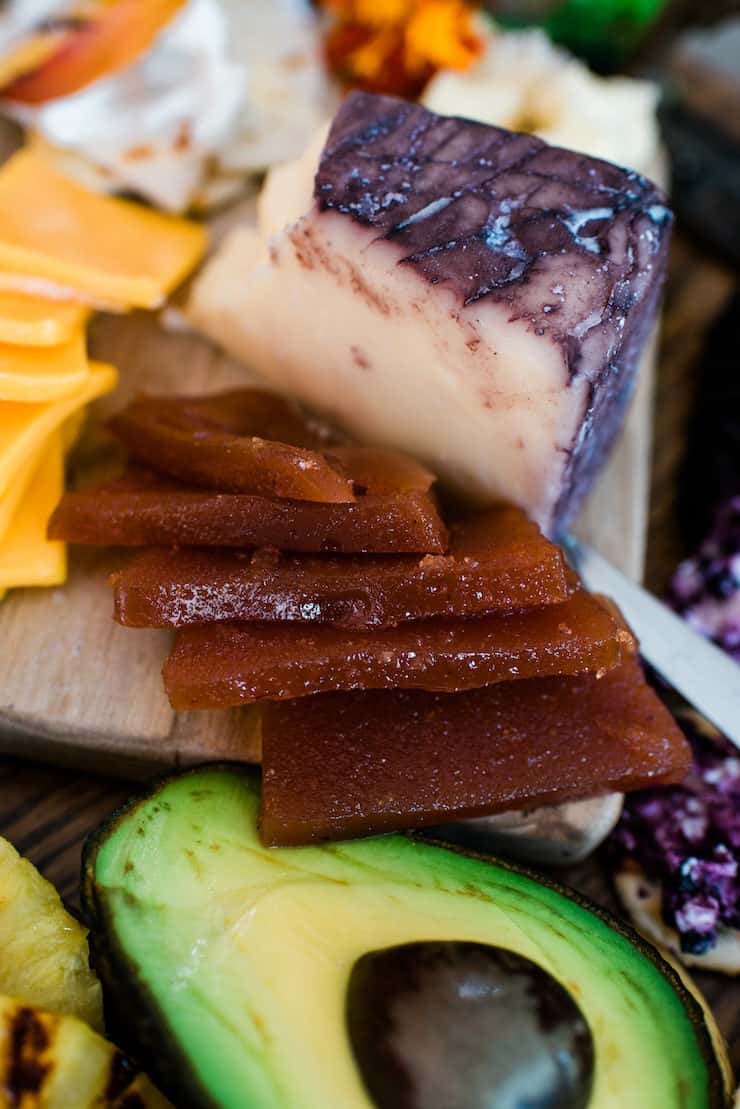
My daughter and I are obsessed with membrillo (quince paste) so that is always on our cheese boards.
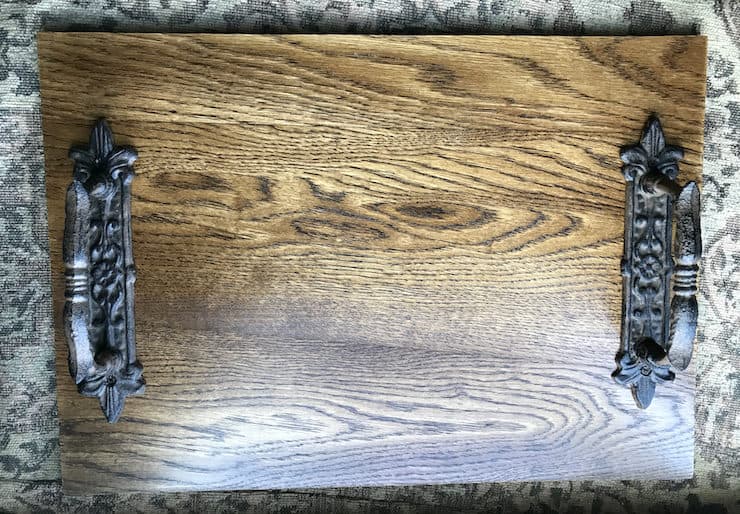
But this cheese board is special – my crafting partner made this wooden board! If you love to entertain, try making your very own wood board to beautifully display appetizers.
Any piece of wood can be used. If you saw this gorgeous smoked salmon post, my crafting partner found this round cutting board while thrifting. She sanded it, painted it white with chalk-board paint, distressed it, and then sealed it to make it food safe.
Old or new cutting boards are also an excellent candidate for creating your own fancy board, as they are typically a perfect size to work with.
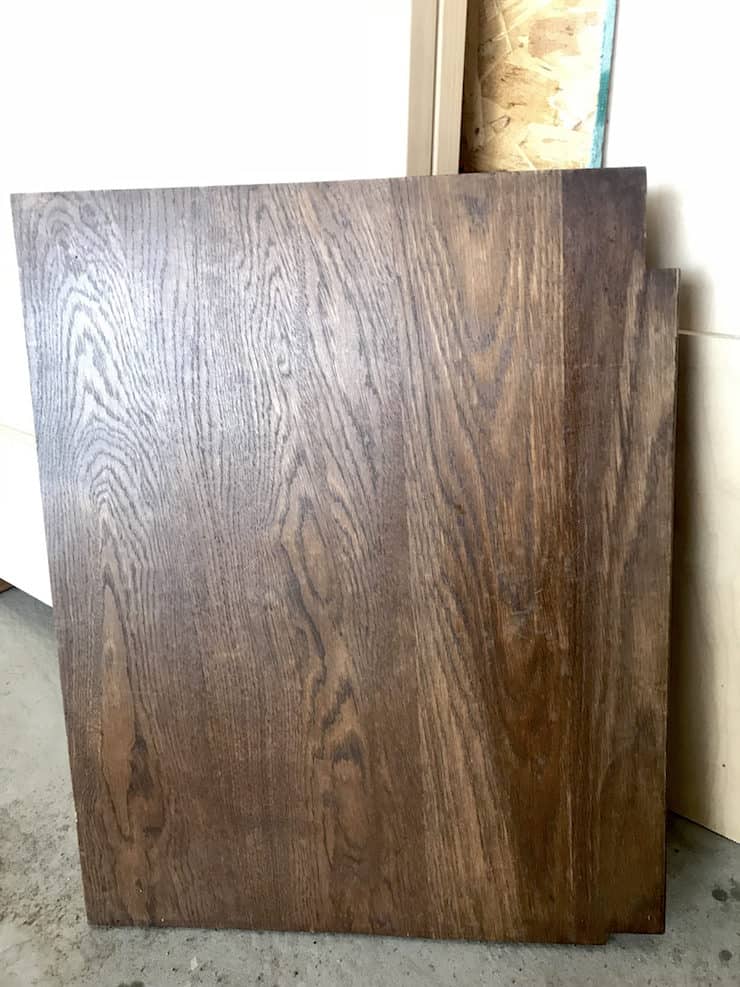
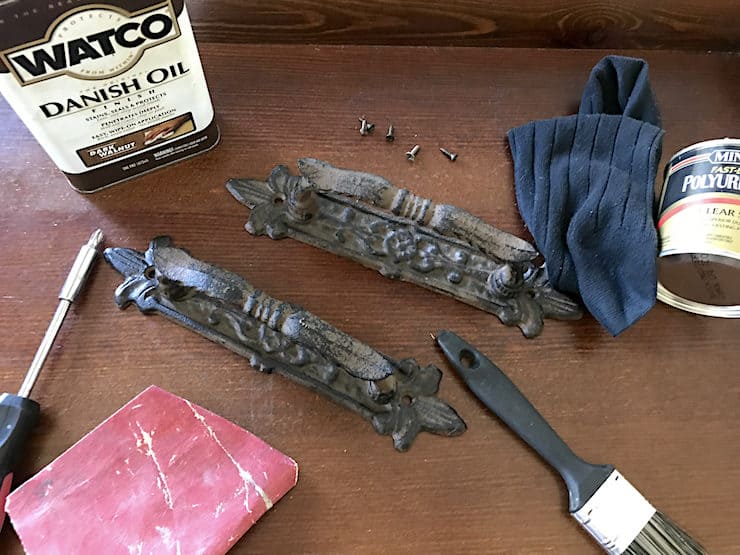
The board for this post was originally a shelf salvaged from an old broken-down armoire. It was cut down to a workable size, then sanded with a low grit sandpaper. Sanding assures that any old lacquers or oils are removed. This also allows you to also choose the new stain color and allows for better absorption. We love how this dark walnut oil stain showcases the exquisite wood grain.
Last but not least, customize with handles, which are simply cabinet pulls. Flat cabinet pulls secured to the bottom can also be a fun option and give your tray some height. Any added hardware adds a fun stylish punch to reflect your decorative style: rubbed bronze or ceramic to name a few. There are just as many drawer pull styles as colors. As with all DIYs, the options and combinations are endless.
Supplies:
- Cutting board or salvaged wood
- Wood saw, if necessary
- Sandpaper (high grit for used cutting board, otherwise low grit is fine)
- Wood stain, your choice of color
- Wood sealant
- Paint brushes
- Cabinet pulls
- Measuring tape
- Screws
- Screw driver
After you have chosen the right piece of wood for you, cut it to your preferred size. Secondly sand, preferably outside or in your garage wearing a surgical mask. If you are using a used cutting board, be sure to sand with high grit sandpaper until all the cut marks and grooves are gone.
Use a paint brush to apply your chosen wood stain color. Wipe off excess stain and reapply if darker color is desired. Follow the direction times for the stain to allow to dry. When dry, apply wood sealant with paint brush. Allow to dry.
Line-up the cabinet pulls according to your placement preference. Screw into place. Make sure your screws do not penetrate the wood. Measure the width of the wood and the screw to ensure that the screws are at least ¼ inch shorter than the width of the wood.
Have fun showing off your gourmet skills on your new stunning board!

Grilled Fruit Cheese Board
Ingredients
- 3 tablespoons olive oil
- Peach, sliced
- Avocado, sliced
- Pear, sliced
- Pineapple, sliced
- Membrillo, quince paste
- Water crackers or crackers or your choice
- Flour tortillas, cut into wedges
- Honey
- Jam or preserves of your choice
- Assorted soft and hard cheeses
- Fresh herbs: mint and basil
Instructions
- Slice fruit and brush with olive oil.
- Place fruit on a grill pan over medium-high heatand grill until fruit is tender, but not mushy. Set aside and cool.
- Place grilled fruit slices, cheeses, and crackers around the board.
- Add in herbs and flowers for color.
Notes
- I recommend brushing slices of fruit with some olive oil and grilling the fruit on a grill pan rather than grilling small slices of fruit on an outdoor grill.
- My daughter and I are obsessed with membrillo (quince paste) so that is always on our cheese boards. You can buy it here.
Nutrition
Nutrition information is automatically calculated, so should only be used as an approximation.



Very nice work on the board, and the food on it is even better, very beautiful and delitous. Quince is my favorite too