Halloween Diorama
1
Updated Mar 02, 2025, Published Oct 22, 2018
This post may contain affiliate links. Please read our disclosure policy.
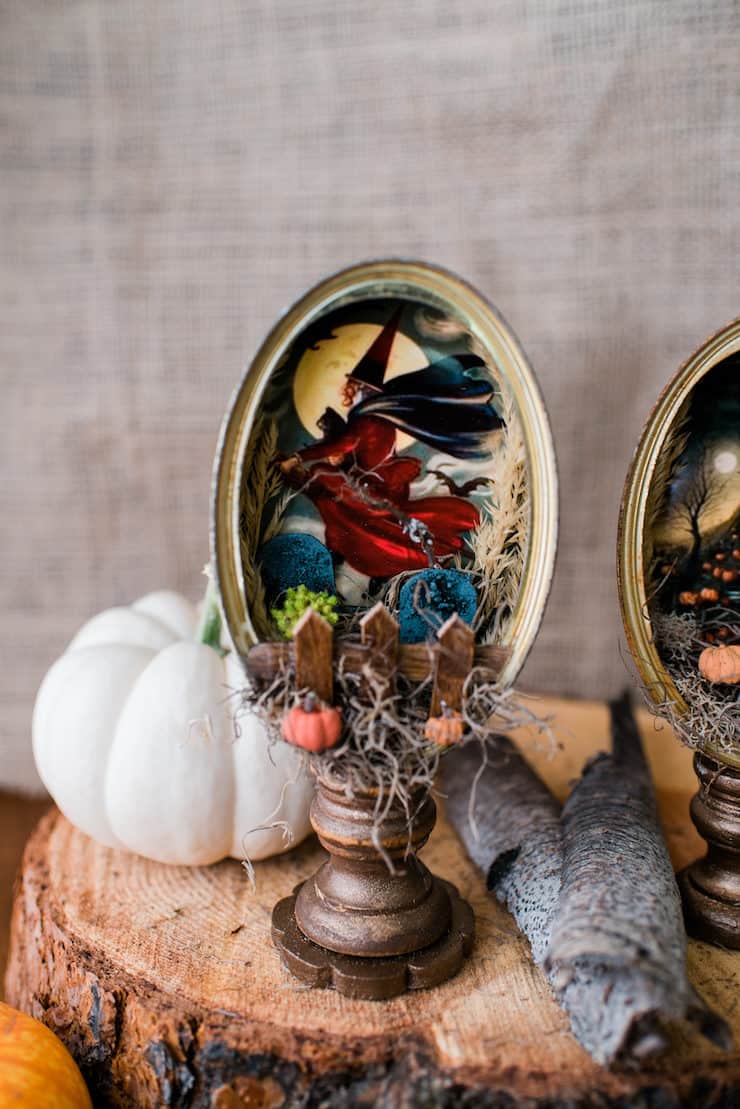
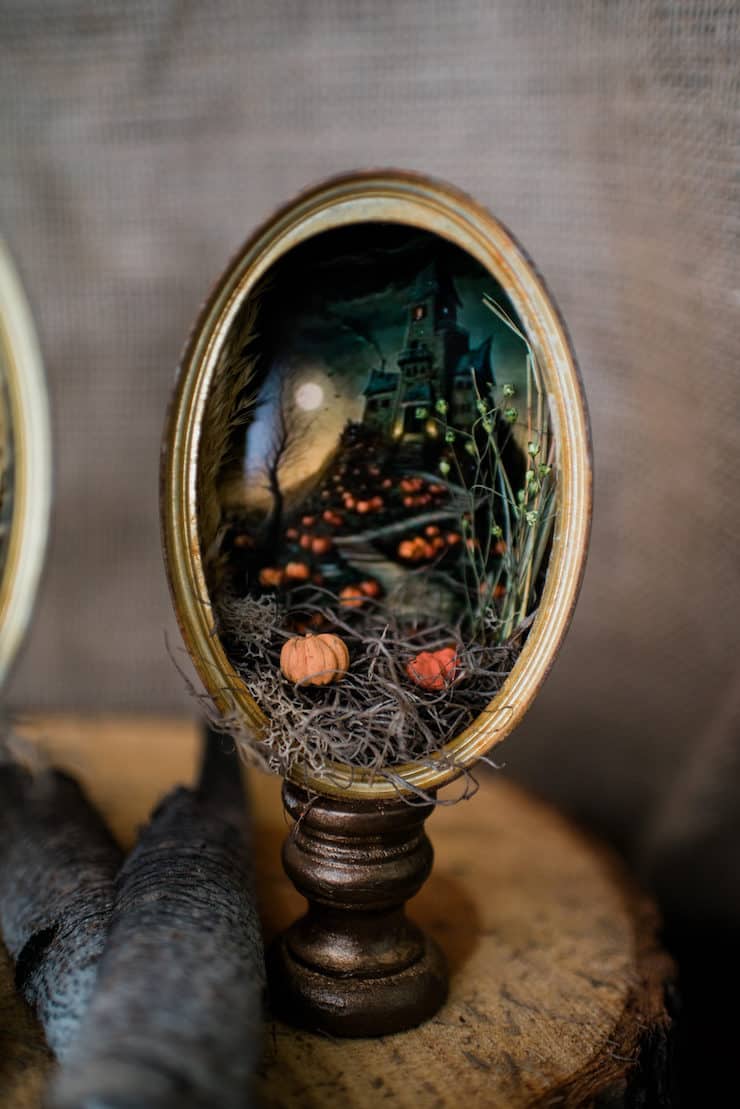
Do you love dioramas, as much as we do? Dioramas are miniature, tiny representations of real-life scenes. Small objects and details put together and displayed in such a way that it entices one to look more closely, to glimpse at the intricacies and admire the exhibit. We had many inspirations for this craft.
We’ve seen some impeccable designs on Pinterest using sardine and Altoid tins, so be sure to stay tuned for more tin ideas forthcoming.
If you think this craft looks fun, but are daunted by the directions and/or amount of supplies, do not fret. We have broken down each step and categorized supplies for you to pick and choose which to keep or omit.
For instance, the diorama can be hung with ribbon or jute instead of drilled for a wooden pedestal. Also, we printed our background designs at a local photo print shop, but an image printed from your own color printer or cut-out from a magazine will work just as well.
Also, incorporate items that you already have on hand, toothpicks, dried weeds, twigs, or any other personal artifacts. Simple or complex, we’re sure you’ll have fun making your own version.
Supplies:
Aged Tin Container:
- Sardine can (oval)
- High grit sand paper
- Salt
- Hydrogen peroxide
- Disposable container
Wooden Pedestal:
- Wooden finial or spindle
- Wooden base for finial or spindle (optional)
- Paint or stain
- Flat head screw, 1.5”
- Nut to fit screw
- Vice
- Drill / screwdriver
- Dremel, to sink screw in wood, if needed
Tombstones:
- Cut large wooden tongue depressors (tombstones)
- Sand
- Black and gray acrylic paint
- Paint brush
- Sponge paint brush
Fencing:
- Popsicle sticks
- Dark wood stain
- Disposable container
- Diagonal plier to cut
Background:
- Computer and printer, if printing image
- Pre-printed photo (magazine, greeting card, etc.)
- Colored construction paper
- Clear drying Elmer’s glue
- Scissors
Adornments:
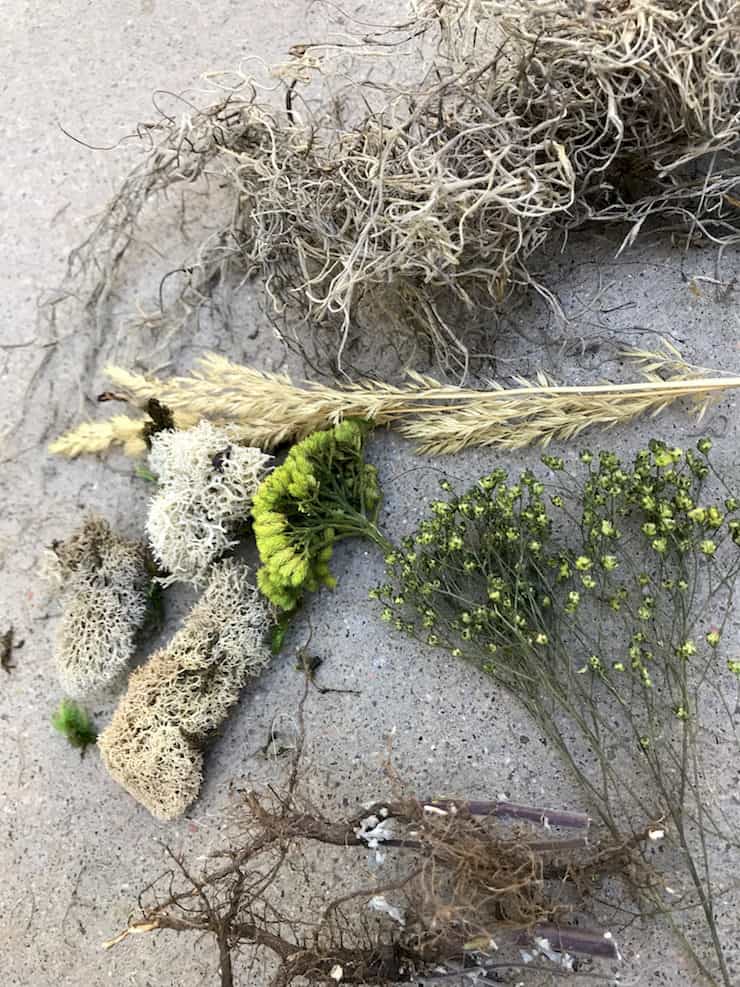
- Spanish moss, dried moss, dried twigs, mini dried flowers
- Mini pumpkins
- Exacto knife
- Glue gun
- Needle nose pliers, if needed
Aged Tin Container:
Remove fish from sardine can, we got ours at the local Dollar store, clean and soak in dish soap until odor is gone and label is easily removed. Dry the can thoroughly then scratch and distress with sandpaper, including the lid edge so that it is no longer sharp. Soak the can in a mixture of one cup hydrogen peroxide, to two tablespoons of salt for 2 hours on each side to prematurely age and rust. When all sides are aged to your liking allow the sardine can to dry overnight before adding the scene.
Wooden Pedestal:
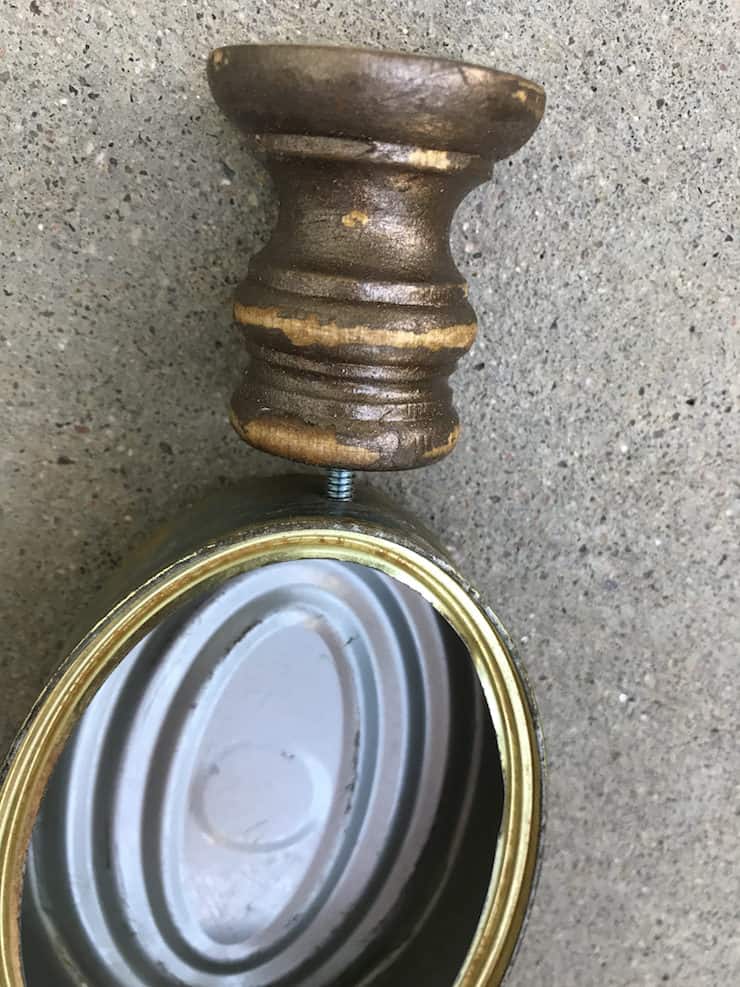
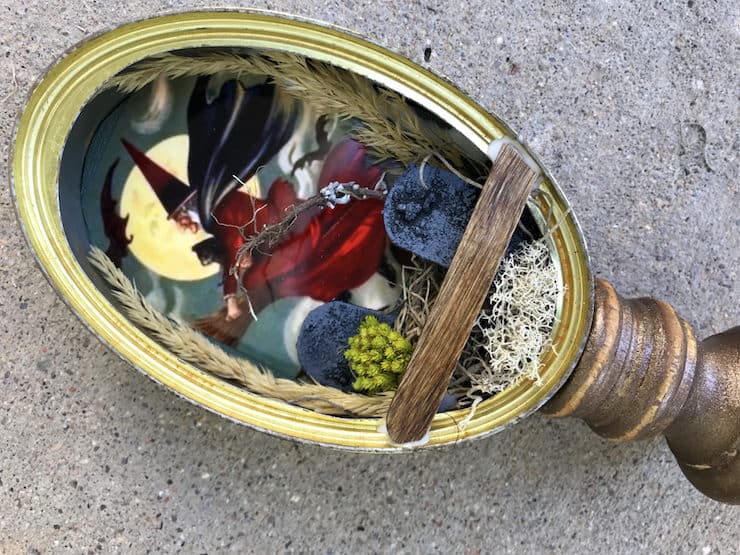
Using a vice, drill a hole in the pedestal to accommodate the screw. Using the vice, gently drill a hole in the base of the sardine can. We used a Dremel to sink the screw so that the base can stand flush. Assemble can to base with screw and nut. Optionally, we used another piece of wood shaped like a flower to make sturdy.
Background:
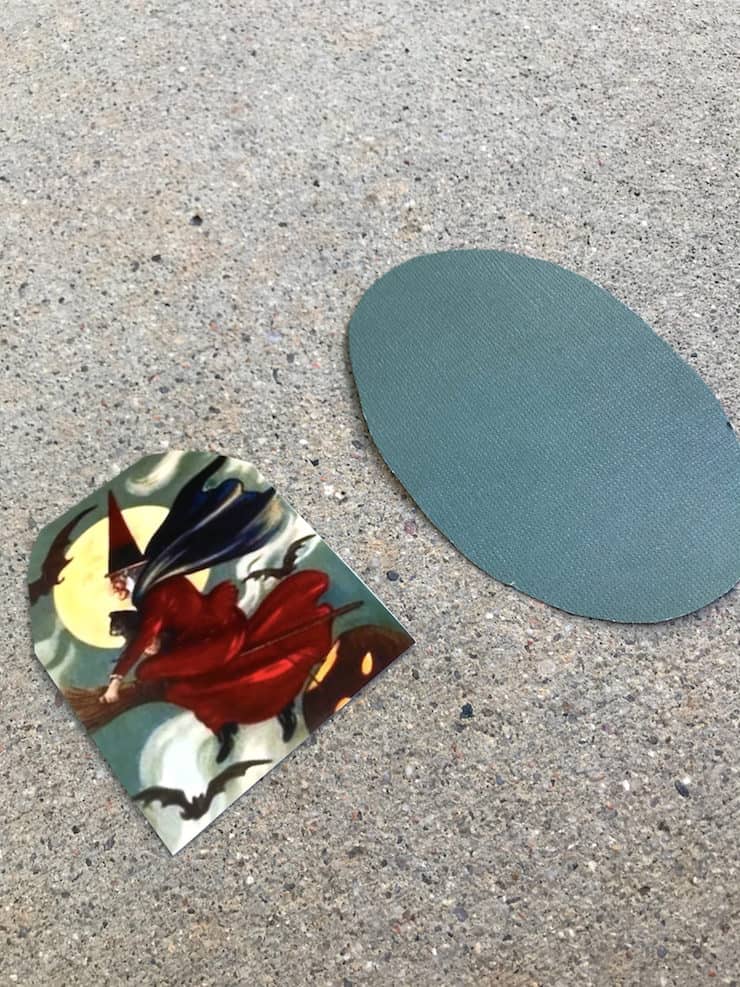
We found our background images online using the search terms “vintage Halloween images.” We resized each image to fit within the dimensions of our sardine can. The image may not fully cover the bottom of the inside of the can, so we pasted construction paper behind each image. Do this by tracing the can directly on the paper and cut out; you’ll do this for the image too. After the construction paper is glued to inside back of the can, trace and cutout the scene image and paste directly on the construction paper.
Fencing:
For the fence, we soaked popsicle sticks in dark wood stain and then dried for 24 hours. We then cut them with diagonal pliers and glued the pickets of the fence. Tip: glue one stick diagonally using a glue gun, into place to secure the remaining upright fence sticks.
Tombstones:
For the tombstones, cut large wooden tongue depressor with the diagonal pliers. Paint with a mixture of Elmer’s glue, black acrylic paint and sand to add an aged, dimensional look. After the black paint mixed with sand dried, lightly sponge paint with gray. Use the glue gun to stagger the tombstones in place after Spanish moss has been glued down, next.
Adornments:
Using the glue gun, insert clumps of Spanish moss on the bottom of the can, covering the end of the screw and the nut. Line the edges of the inside scene with taller dried sticks and flower and glue in place. Carefully using an Exacto knife cut the mini pumpkins in half and glue in place. If you have included a fence, you can easily add more moss between the fence posts with needle nose plyers and glue.
Photography: Jenna Sparks & Thrifty Rehab / DIY: Thrifty Rehab



Wow these are so beautful, very creative. Love them