Red Chilaquiles for a Crowd (Easy Baked Chilaquiles)

6
Updated Nov 05, 2026
This post may contain affiliate links. Please read our disclosure policy.
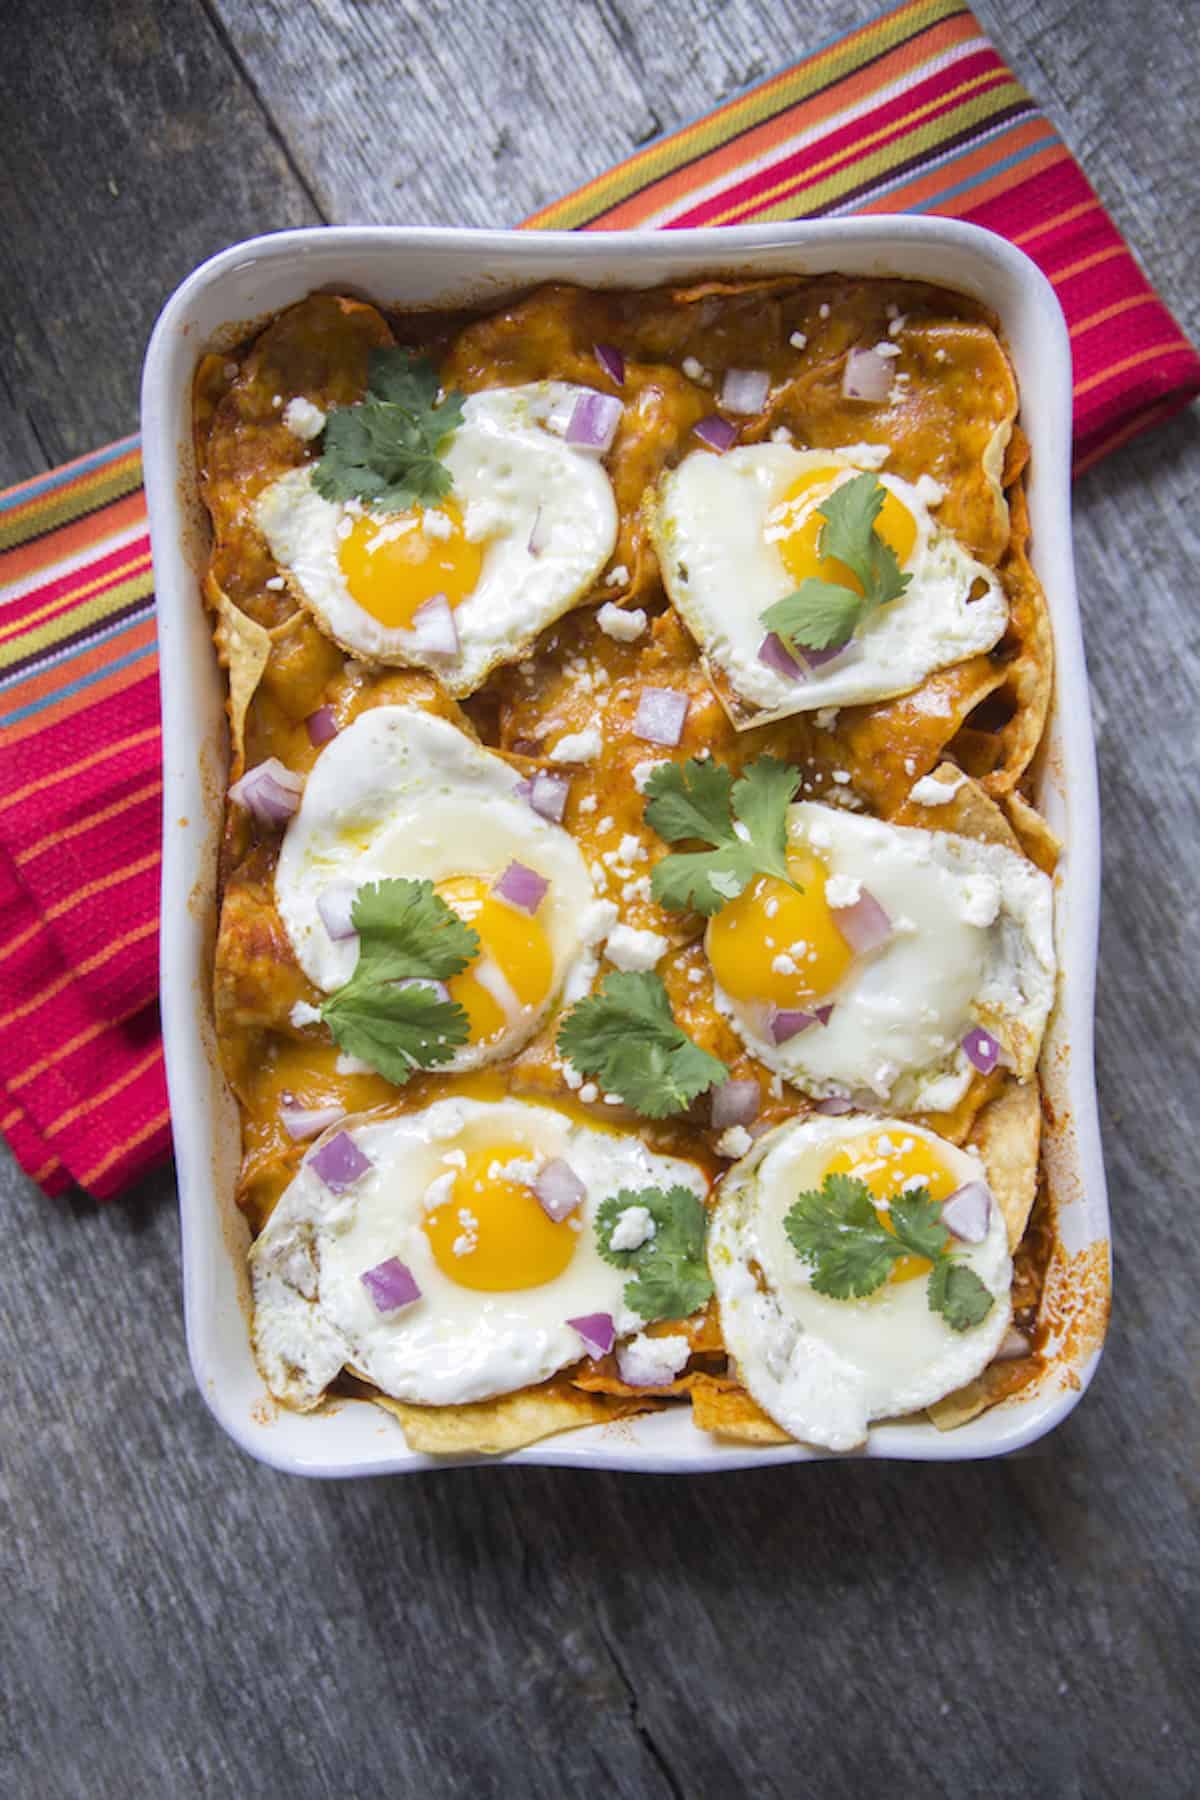
Feeding a crowd for breakfast or brunch? These Red Chilaquiles for a Crowd are an easy way to serve a Mexican breakfast favorite without standing over the stove making individual batches.
Unlike traditional chilaquiles made in a skillet, this version comes together in a baking dish with crispy tortilla chips, red chile sauce, and plenty of melted cheese. Top with queso fresco, fresh cilantro, and fried eggs for a delicious breakfast that’s perfect for sharing.
I love using my homemade red chile sauce for authentic flavor, but when you’re short on time, canned red enchilada sauce is a convenient shortcut.

Why This Is Muy Bueno
- Perfect for feeding a crowd. Instead of preparing individual servings on the stovetop, everything comes together in one baking dish.
- Easy oven-baked method. No need to fry individual batches of tortillas or chilaquiles. Sturdy tortilla chips make preparation simple.
- Homemade flavor or a shortcut. Use homemade red chile sauce for rich, authentic flavor, or canned red enchilada sauce when time is limited.
- Make it your own. Finish with queso fresco, fresh cilantro, and fried eggs, or let everyone add their favorite toppings.
Ingredients & Substitutions
You only need a handful of ingredients to make these easy baked chilaquiles. Here are a few tips for choosing the best ones.
- Red chile sauce: My homemade red chile sauce adds rich, earthy chile flavor. Short on time? A 28-ounce can of Las Palmas red enchilada sauce is a convenient shortcut. Both work beautifully in this recipe.
- Tortilla chips: Thick, sturdy corn tortilla chips hold up best to the sauce. You can make your own homemade tortilla chips, either fried or baked, or use your favorite thick-cut store-bought chips.
- Red onion: Sautéed red onion adds sweetness and depth of flavor.
- Chicken stock: Helps thin the sauce so it coats the tortilla chips evenly.
- Colby cheese: Melts beautifully into the chilaquiles. Monterey Jack is another option for a milder flavor.
- Queso fresco: Adds a fresh, slightly salty finish that balances the rich sauce and melted cheese.
- Fresh cilantro and eggs: Finish with chopped cilantro and sunny-side-up eggs for a hearty Mexican breakfast or brunch.
How to Make Red Chilaquiles for a Crowd
These oven-baked chilaquiles come together in one baking dish, making them perfect for a family breakfast or weekend brunch.
Step 1: Preheat the oven. Preheat your oven to 300°F.
Step 2: Sauté the onion. Heat the vegetable oil in a large stockpot over medium-high heat. Add about two-thirds of the diced red onion and cook, stirring regularly, until richly browned, about 8 to 10 minutes.
Step 3: Prepare the red chile sauce. Add the red chile sauce and chicken stock to the pot and bring to a rolling boil. Turn off the heat and stir in two-thirds of the shredded Colby cheese until incorporated.
Step 4: Assemble the chilaquiles. Arrange a layer of tortilla chips in a 13-by-9-inch baking dish. Pour half of the sauce over the chips, making sure they’re evenly coated. Add another layer of chips and pour the remaining sauce over the top. Sprinkle with the remaining shredded cheese.
Step 5: Bake. Loosely cover the baking dish with foil, making sure it doesn’t touch the chips. Bake for 8 to 10 minutes, until the chilaquiles are bubbling.
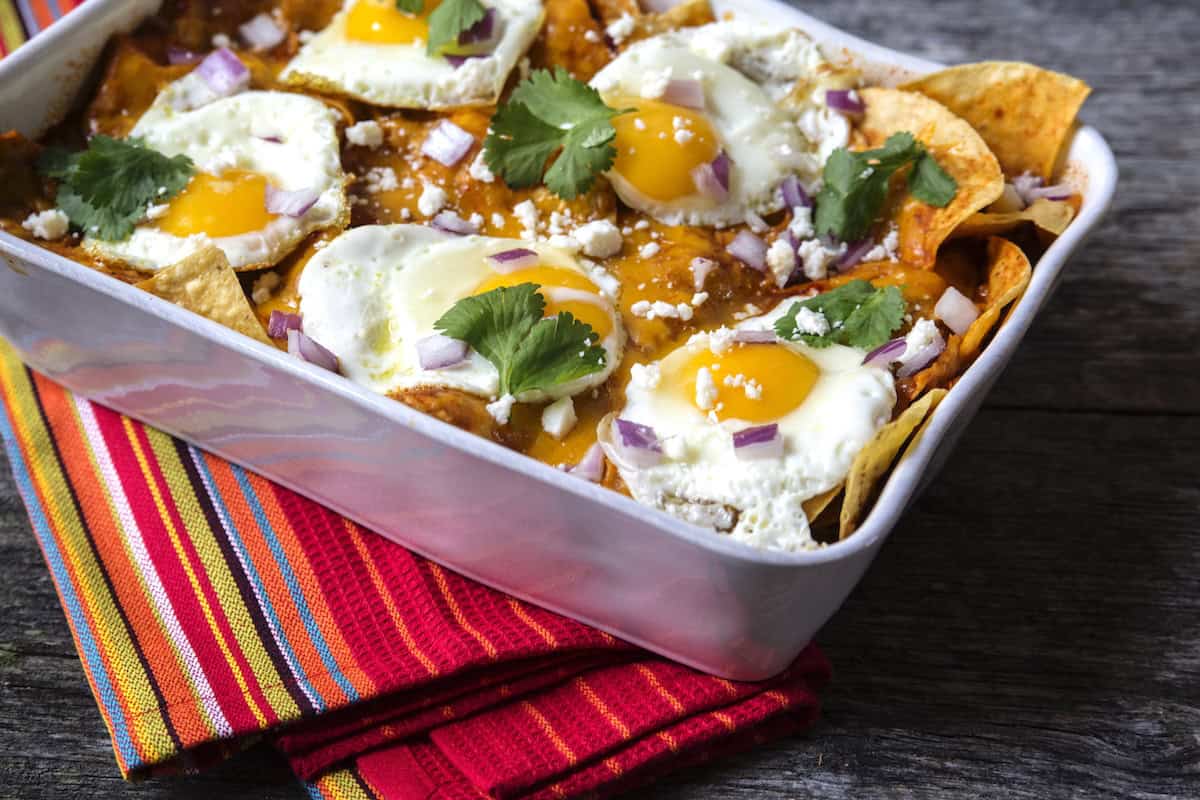
Step 6: Garnish and serve. Remove from the oven and sprinkle with the reserved red onion, crumbled queso fresco, and fresh cilantro. Top with sunny-side-up eggs, if desired, and serve immediately for the best texture. The chips will continue to soften as they absorb the sauce.
Tips for the Best Baked Chilaquiles
- Choose sturdy tortilla chips. Thick-cut corn tortilla chips hold up better to the sauce than thin, delicate chips. My homemade tortilla chips are a great option, whether fried or baked.
- Don’t skimp on the sauce. Chilaquiles should be generously coated in red chile sauce, but not swimming in liquid. Layering the chips and sauce helps distribute everything evenly.
- Keep the foil loose. When covering the baking dish, make sure the foil doesn’t touch the chips or cheese.
- Time it right. Assemble the chilaquiles just before baking and serve immediately. The longer the chips sit in the sauce, the softer they’ll become.
- Let everyone customize their plate. Set out queso fresco, cilantro, diced red onion, and fried eggs so guests can add their favorite toppings.
What to Serve with Red Chilaquiles
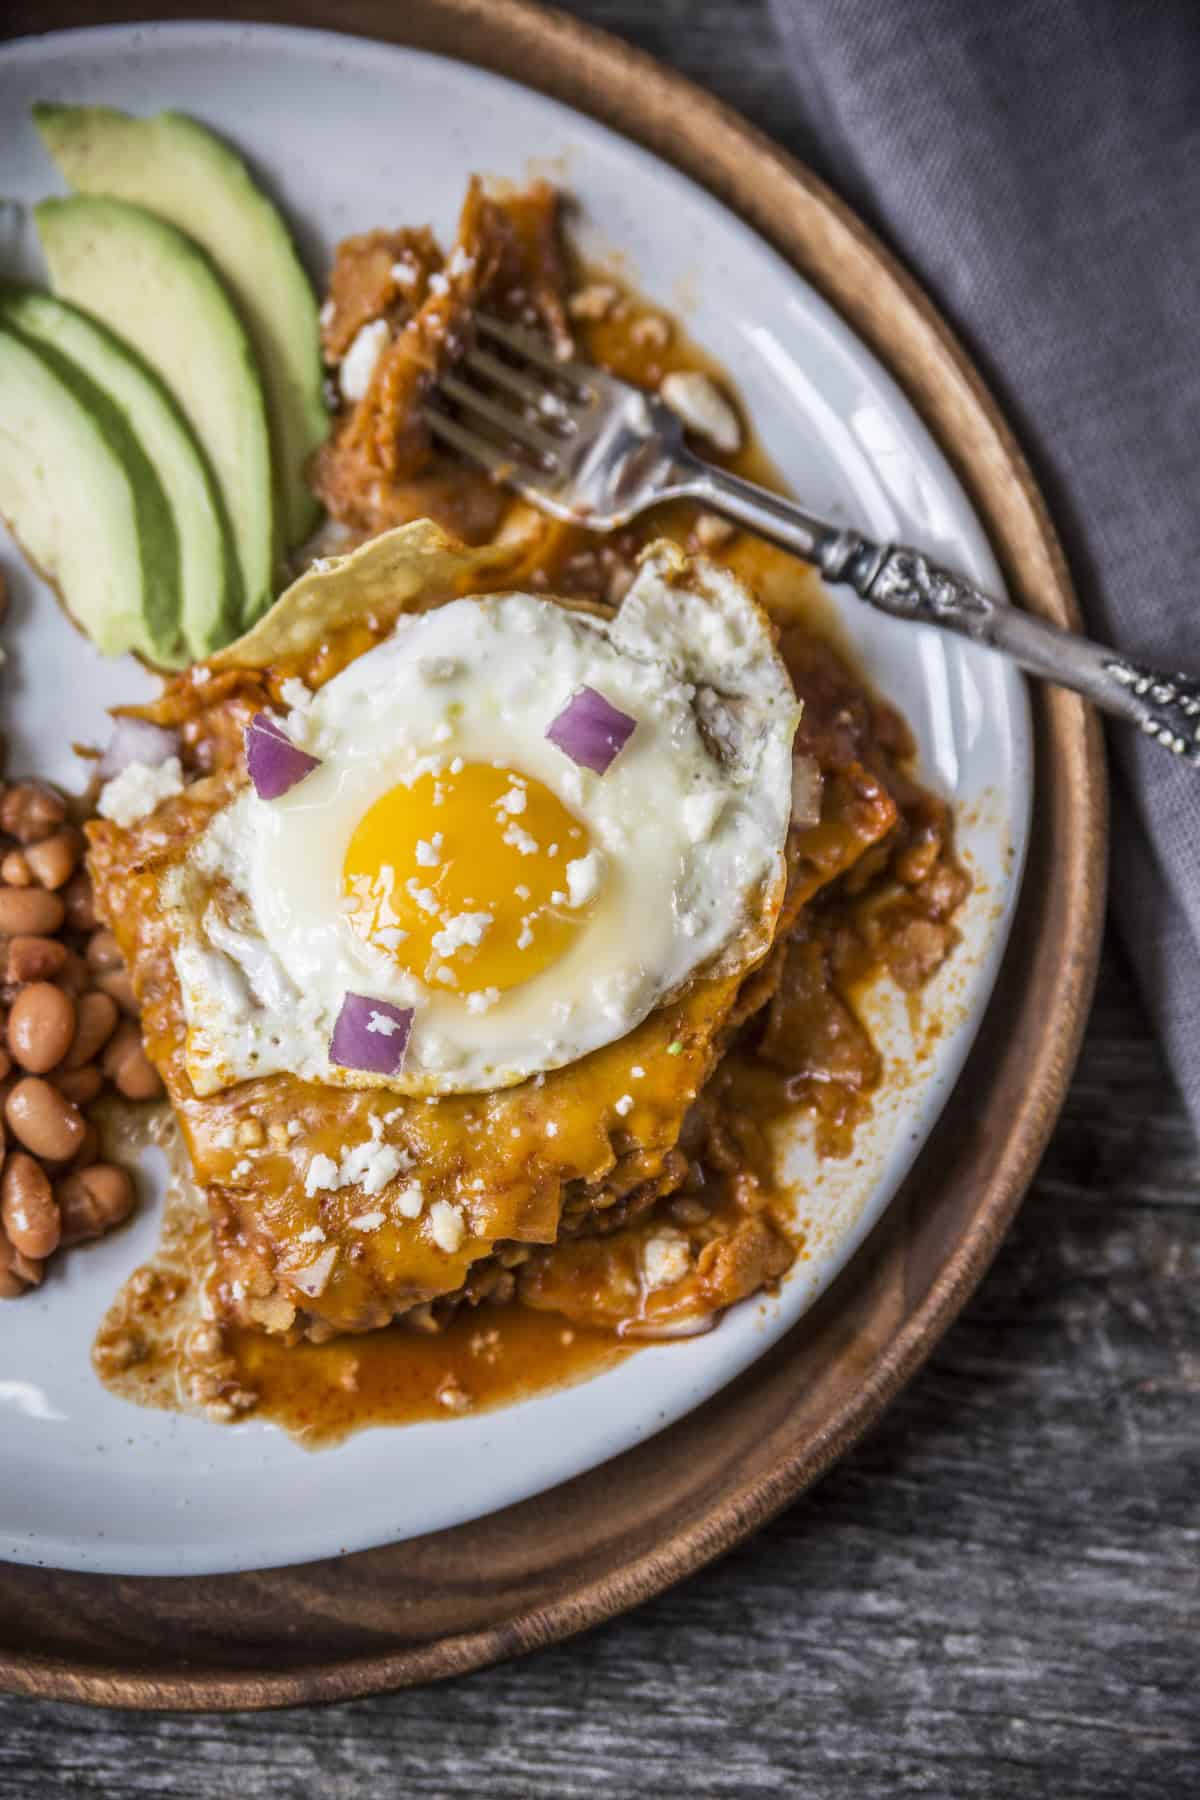
These cheesy red chilaquiles are hearty enough to enjoy on their own, especially topped with a sunny-side-up egg. But when I’m hosting breakfast or brunch, I love serving a few Mexican favorites alongside them.
- Refried Beans: A classic side dish that pairs beautifully with chilaquiles.
- Frijoles de la Olla: Simple, comforting Mexican beans that are perfect for rounding out a breakfast spread.
- Mexican Hot Chocolate: Warm, frothy chocolate makes any Mexican breakfast feel extra special.
- Fresh fruit: A colorful platter of seasonal fruit adds something refreshing alongside the rich, cheesy chilaquiles.
For a larger brunch, set out the garnishes separately so everyone can customize their plate with queso fresco, cilantro, diced onion, and fried eggs.
Frequently Asked Questions
You can prepare the red chile sauce, shred the cheese, and chop the garnishes ahead of time. However, I recommend assembling the chilaquiles just before baking so the tortilla chips don’t become overly soggy.
Start with thick, sturdy tortilla chips and avoid letting them sit in the sauce too long before baking. Chilaquiles are meant to soften as they absorb the sauce, but they shouldn’t turn to mush. Serve them immediately for the best texture.
Absolutely! My homemade red chile sauce works beautifully in this recipe. You can substitute it for the canned enchilada sauce using the same amount.
Store leftovers in an airtight container in the refrigerator for up to 3 days. Reheat in an oven-safe dish, covered with foil, at 350°F until heated through. Keep in mind that the tortilla chips will soften considerably after refrigeration, so these chilaquiles are best enjoyed fresh.
More Mexican Breakfast Recipes



Ingredients
- 3 tablespoons vegetable oil
- 1 large red onion, diced
- 1 28-ounce can Las Palmas Enchilada Sauce , or homemade red chile sauce
- 2 cups chicken stock
- 8 ounces shredded Colby cheese
- 12 ounces thick homemade-style tortilla chips
- cilantro leaves, for garnish
- 1/2 cup crumbled queso fresco
- 6 sunny-side-up eggs for serving, optional
Instructions
- Preheat your oven to 300 degrees.
- In a large stockpot, heat oil over medium-high. Add about 2/3 of the onion and cook, stirring regularly, until richly browned, 8 to 10 minutes. Add sauce and broth and bring to a rolling boil. Turn off heat and stir in 2/3 of the shredded cheese.
- Place one layer of chips into a 13×9-inch baking dish and pour half of the sauce, so that all of the chips are coated. Add another layer of chips and pour remaining sauce. Sprinkle with remaining shredded cheese. Lightly cover baking dish with foil, being careful not to let the top of the chips touch the foil.
- Bake 8 to 10 minutes. When chilaquiles are bubbling, remove from the oven and sprinkle with the remaining onion.
- Top with queso fresco, cilantro, and sunny side up eggs, if using.
Notes
- Homemade red chile sauce can replace canned enchilada sauce in equal amounts.
Nutrition
Nutrition information is automatically calculated, so should only be used as an approximation.
A special thanks to Las Palmas Sauces for sponsoring this blog post. Opinions are my own.
Photos by Jeanine Thurston











This looks delicious! I’m sure I”ll be making this soon.
This is such a good idea. I am a huge fan of Mexican dishes. Definitely going to try this over the weekend!
Oooh this loves so delicious. Ive never heard of chilaquiles but I def want to try now! Pinned
This looks amazing! I love chilaquiles, and this looks like such an easy way to make them for a crowd!
What a great idea for brunch! I make them often but this is so much simpler!
Great idea! Back here in UK I got pretty bored with trad cuisine! Now that’s something lively!