Frijoles de la Olla
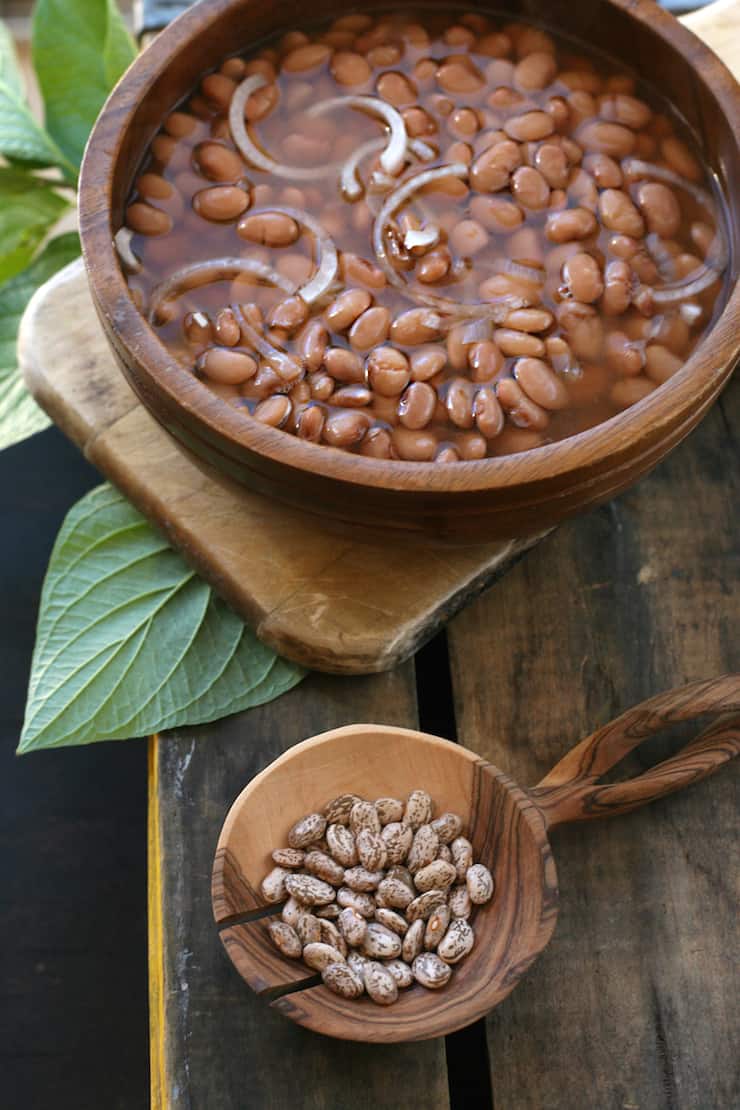
A pot of freshly made frijoles or Frijoles de la Olla is my absolute favorite way to eat frijoles. Learn how to make Frijoles de la Olla on the stovetop in a cast iron pot or in an Instant Pot.
Growing up the three food staples were homemade flour tortillas, salsa casera, and our simple pot of frijoles.
I love how pure and fresh they taste fresh from the olla. As soon as they were ready to eat I would fill a large bowl of frijoles, add some fresh salsa and scoop them up with a homemade tortilla.
My mom always said, “If there are frijoles in the house then you have something to eat.” These little nuggets can be eaten fresh, refried, or mixed in with chorizo.
One pot of frijoles can evolve into so many other dishes, for example: refried beans, chili beans, over a tostada, and so many others. Frijoles were the side dish of choice for breakfast, lunch, and dinner in our home.
Eaten fresh or refried, these little morsels can create a slew of other recipes. The sky is the limit but don’t forget, the secret is starting off with that fresh pot of frijoles de la olla.
Can you cook beans in an instant pot?
Absolutely! Scroll down for detailed recipe.
DO YOU HAVE TO SOAK DRIED BEANS BEFORE COOKING THEM?
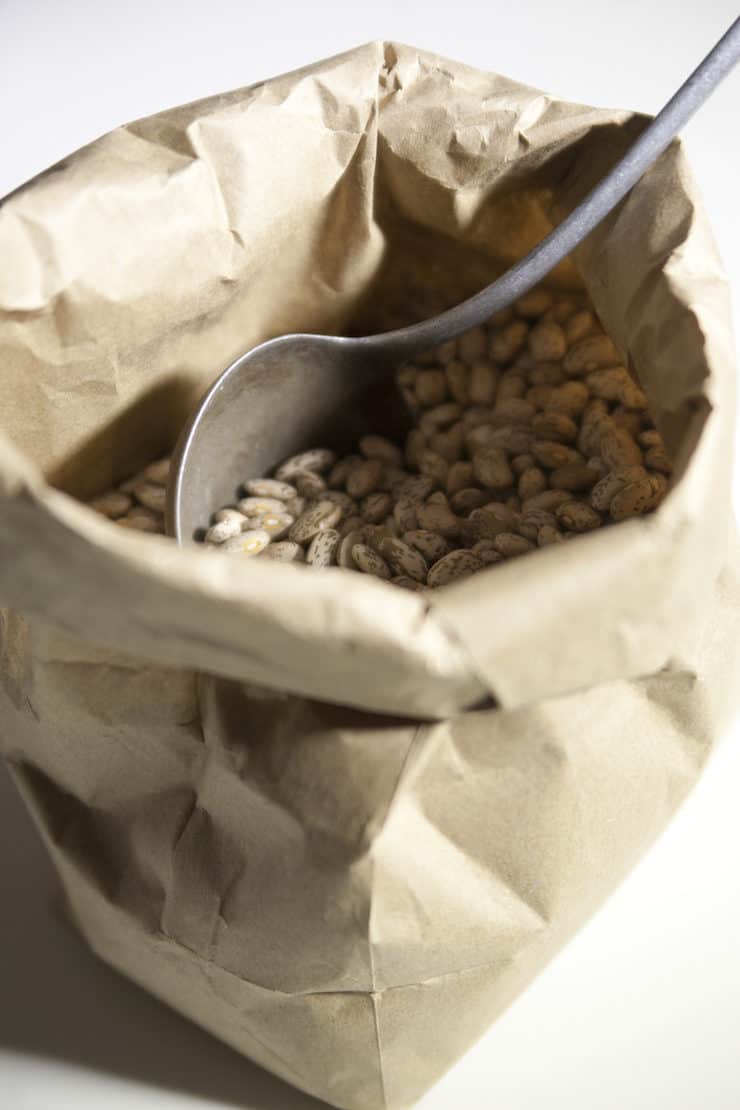
No, not necessarily, but I like to soak for at least one hour to ensure beans are clean and plump when cooked. Put the beans in a pot, cover with water by two inches and let them soak for an hour or overnight. Drain, rinse and proceed with your recipe.
WHAT YOU WILL NEED:
- Large Pot or Instant Pot
- Colander
HOW TO STORE Cooked Beans
Beans can be refrigerated for up to 5 days and also freeze well in these plastic containers, which comes in very handy for later use.
OTHER DELICIOUS PINTO BEAN RECIPES YOU’LL LOVE:
If you love these easy and delicious Frijoles de la Olla, be sure to check out some of my other favorite pinto bean recipes below.
Frijoles de la Olla
Ingredients
- 2 cups dry pinto beans
- ¼ onion, optional
- Salt to taste
- Water
Instructions
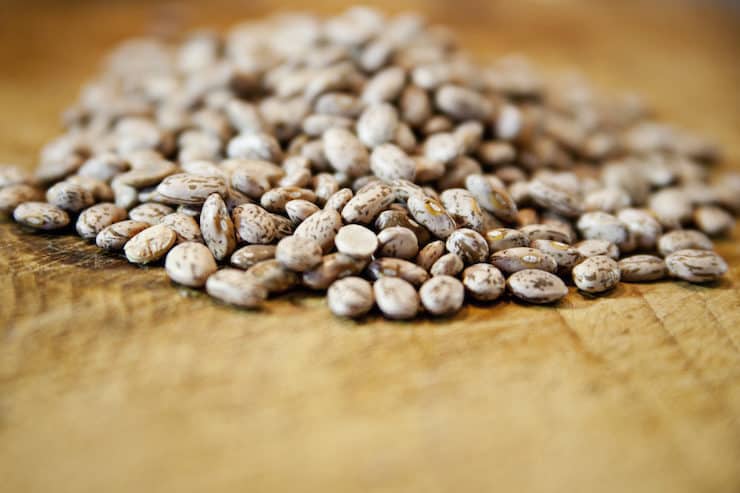
- Measure out the beans. Spread the beans over your counter so you can look for beans that are broken, discolored, or shriveled and remove them. There will also be small stones or pebbles that should be sorted out of the beans during this phase. Discard all of the undesirable pieces.
- Place beans in a colander. Rinse the beans thoroughly with cool water for about 3 minutes.
- This step is not necessary, but your beans will be lighter in color and “mas bonitos” as my mom says: Cover the dried beans with cold water by about 2 inches and soak for at least 1 hour or overnight before cooking. Drain and rinse afterward.
Instructions for cooking the beans in a regular pot:
- Pour the drained beans into a large pot. Add enough water to reach 3 inches over the beans, about 2 liters. Bring to a boil over medium-high heat. Cover and simmer until the beans are tender, about 3 - 4 hours, adding more hot water as the beans absorb liquid. Every pot is different and so check your beans after 2 hours. Most take 3 - 4 hours but I have a pot I love to cook my beans in because it only takes 2 hours.
- Add salt and onions (onions are optional) about one hour before complete. Refrigerate beans when cooled.
Instructions for Instant pot:
- Place dried soaked beans, salt, onion, and water (2 liters) in Instant Pot.
- Use “manual” setting for 30 minutes of pressure.
- Allow pressure to naturally release, approximately 30 to 40 minutes. Season beans to taste.
Video
Notes
- Soak beans for one hour or overnight.
- The beans can be frozen in small bowls for later use.
- Beans can be refrigerated for up to 5 days.
Photography by Jeanine Thurston
Originally published: March 2011. This recipe is also published in the Muy Bueno cookbook.
 Muy Bueno: Fiestas


39 Comments on “Frijoles de la Olla”
Hey Gorgeous! 30 minutes seems like a LONG time in the pressure cooker.
Rick
West of Houston
I love all your recipes! So simple and authentic. So for the beans do I need to season them besides with salt? I swear this is the easiest recipe yet mine come out tasting bland.
Try adding a bit more of salt, also you can use chicken stock in place of water to cook beans in… Remember chicken stock has salt i
When I was growing up, one of my favorite meals was a ladle of beans over a slice of white bread with a big slice of onion on top.
Had no idea we were poor. LOL
A couple of tips and tweaks.
Either soak beans overnight covered in water, or you can bring them to a boil and let them soak for an hour. Both methods work well.
Ne t, for creamier beans, soak them for an hour in a salt/baking soda brine. The baking soda softens the skins.
My mom always added a bay leaf, a whole chopped onion, and a small slab of salt pork. I’ve tried chunks of smoked pork (widely available in groceries).
If you really like creamy beans, when they’re almost ready, mash a portion with a potato masher or an immersion blender.
Love you blog!
Looks delish, can’t wait to try it. And I believe strongly in keeping our culture alive. My motherMichigan. Corpus city before coming to michigan. My favorite dish is her chicken and sopa with chickpeas. Ok now I’m hungry, time to make frijoles.
Looks delish, can’t wait to try it.
I did a search for frijoles and came across your recipe. I needed a refresher for how much water and how much time beans need to cook. I’ve already cleaned them and they’ve been soaking for a few hours, so am ready to cook. I am adding Chambrete (beek shank) and codillos (pork knuckles) to the bottom of the ollo.These bones should give good flavor, plus onions. (I live in Mexico, this is what the stores have) I need to be reminded how to make beans but I can make MENUDO (white) with my eyes closed, yummmm. Imagine a gringa making menudo, all my Mexican men friends say mine is better than their mom’s menudo, shhhhh don’t tell her.
Thanks for your blog, I like your layout
Finally, a Latina ( hard to discover) with recipies
I can relate to.
Cowboy beans is what I make only variation to yours a block of salt pork!
What is the difference between charros, de Olla, and barrachos? Every time I order from a restaurant, I have to use all three terms, til I get my beans!
Thanks.
Nice! Instant Pot is the way to go. A pound of pintos, 1 can of Rotel, 4 cups water, and on high for 50.
Once done I place the beans in a large muffin tin and freeze. Once frozen I place the bean “pucks” in a bag and back in the freezer for later use. Perfect portion size for two.
Love how easy these are to make! Frijoles and tortillas were always in my fridge growing up with queso fresco or cotija cheese 🙂 Can’t go wrong with beans! Need to try this recipe on my instantpot.
I’m making this receipe today totally ignoring how my home cooked beans were, i have a great feeling that they will be very similar, pairing it up with some Queso Fresco and tortillas. I have ruined one pot of beans but trying not it again lol
What is your favorite pot you used.
Can you add garlic, cumin, cilantro and bacon to it? I need them healthy but this just seems too easy!! Please help!
My absolute favorite way to make beans is to slice up “salt pork” into thin slices, add 3/4 of a stick of chorizo and 5 cups of beans into a large pot. Fill the pot of water up to about two inches from the rim and start to boil the water. After it boils for about 5 minutes, you but it on a low heat for about 30 minutes, covered. Then after 30 minutes, you put alittle more water into the pot and let it stay on a low heat again, until the beans are nice and soft. This is the best way that I’ve tasted
I feel so dumb, but here goes: my beans always take 6 or more hrs to cook and even then some seem to be just barely done. Frijoles de la Olla are my favorite way of eating beans but I am so discouraged by my own results I have almost given up. Any suggestions ?
Hi Madonna,
What type of pot do you have? I’ve noticed if the pot I use is thicker stainless or a heavy stock pot/Dutch oven my beans cook faster. It might be time to buy yourself a new olla 😉
MAke sure you add salt only AFTER the beans are tender. Cooking beans in salted water takes forever and then some.
Adding salt when you start will take them longer to cook. But only about an hour or two longer. Do skip the soaking part!
If I double the recipe will it double the time as well?
Hi Roxanna,
The time should be about the same. Just test a bean and if not soft cook for 30 more minutes and keep checking. Hope that helps.
Could you specify how many cups of water are to be added to the beans for cooking? Your recipe only mentions three inches of water above the beans. Love your book!
Monica it really depends on the pot you use which is why we say about 3 inches of water above the dried beans once in the pot. Sorry wish I could be more specific.
I would like to know the same thing Ashley Mae!
Hola Miran!
Check out this blog post with our refried bean recipe: https://muybuenoblog.com/2011/03/refried-bean-and-guacamole-tostadas/
2 tablespoons olive oil or vegetable shortening
1 ½ cups cooked Frijoles de la Olla, plus ½ cup liquid
Salt and pepper to taste
Sorry, I found my answer in one of your other recipes, you can delete that and this if you’d like.
The beans were a hit at the baby shower, but I made about a million too many. So I froze half the leftovers (my Grandma ate the other half in about a minute). Now, when I thaw them how do I make them refried? Do I drain the water out, or leave it in. I know some people add lard or bacon fat, I usually buy the vegetarian ones in the store, so I don’t think I’d want to. Anyway, what do you recommend?
I am planning a baby shower for my bestie, and like this recipe. I see you say they can be refrigerated for 5 days. I’d love to be able to make them the day before and reheat, but only if they’ll be delicious still. Thanks for any info.
Ashley Mae, Just make sure you reheat to a boil and not in the microwave. They will still taste just as delicious! Have fun at the baby shower.
We love frijoles de la olla at my house. My Mom adds a couple of garlic cloves while cooking and removes them after. I love a bowl of fresh frijoles with queso fresco. I have to make some now. Thanks!
Did you make some Karla? Super easy!!! A fresh pot of beans are a must in our casa.
This looks like a great recipe. Very simple and easy to follow. Thanks for posting it!
Thanks JamieAnne! It’s true — it doesn’t get easier than this. If you can boil water, you can make a fresh pot of healthy beans 😉
I love a good pot of beans. Great tips and picture.
Thank you soooo much! Such a simple recipe, but ohhh so delicioso and good for ya!