Homemade Flour Tortillas
108
Updated Jun 03, 2024, Published Jun 29, 2020
This post may contain affiliate links. Please read our disclosure policy.
Give your Mexican meals a delicious upgrade with these soft and tender Homemade Flour Tortillas! Simply made with just 5 ingredients and about 30 minutes of active time, this easy recipe for authentic flour tortillas has been in my familia for generations!
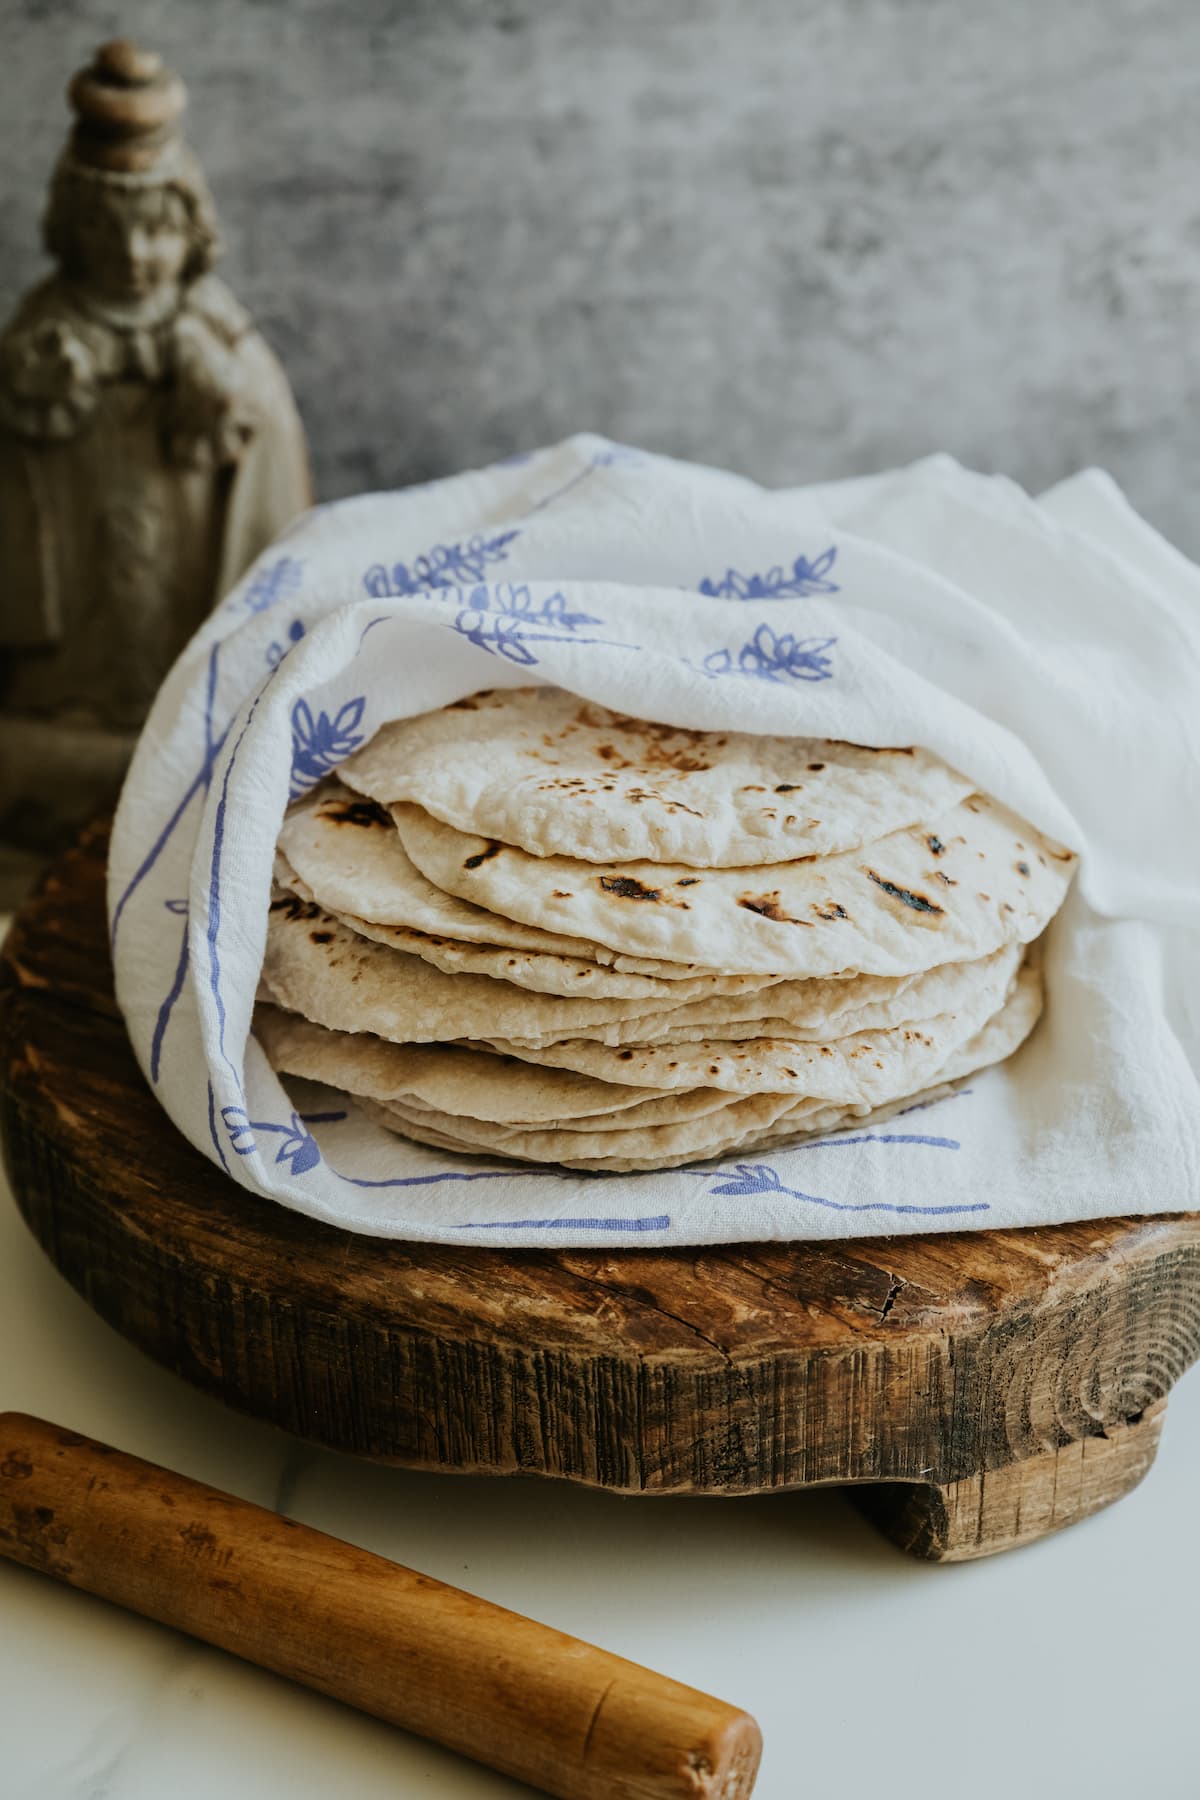
These flour tortillas are absolutely delicious, unlike anything you’ll find in the grocery store. Homemade tortillas are softer, chewier, and the flavor is simply unbeatable.
Making flour tortillas with my grandma’s rolling pin always transports me back to her cocina. I remember sitting at the kitchen table watching her roll out dozens of the softest flour tortillas you could imagine.
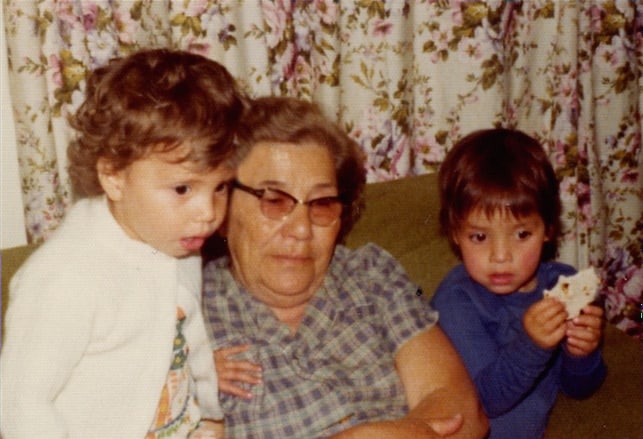
Here I am as a little girl with my grandma and cousin, eating a homemade flour tortilla.
The best part was when she let me snag one from the top of the stack. Honestly, there’s nothing more comforting than a tortilla still warm from the comal — especially when you slather it in butter!
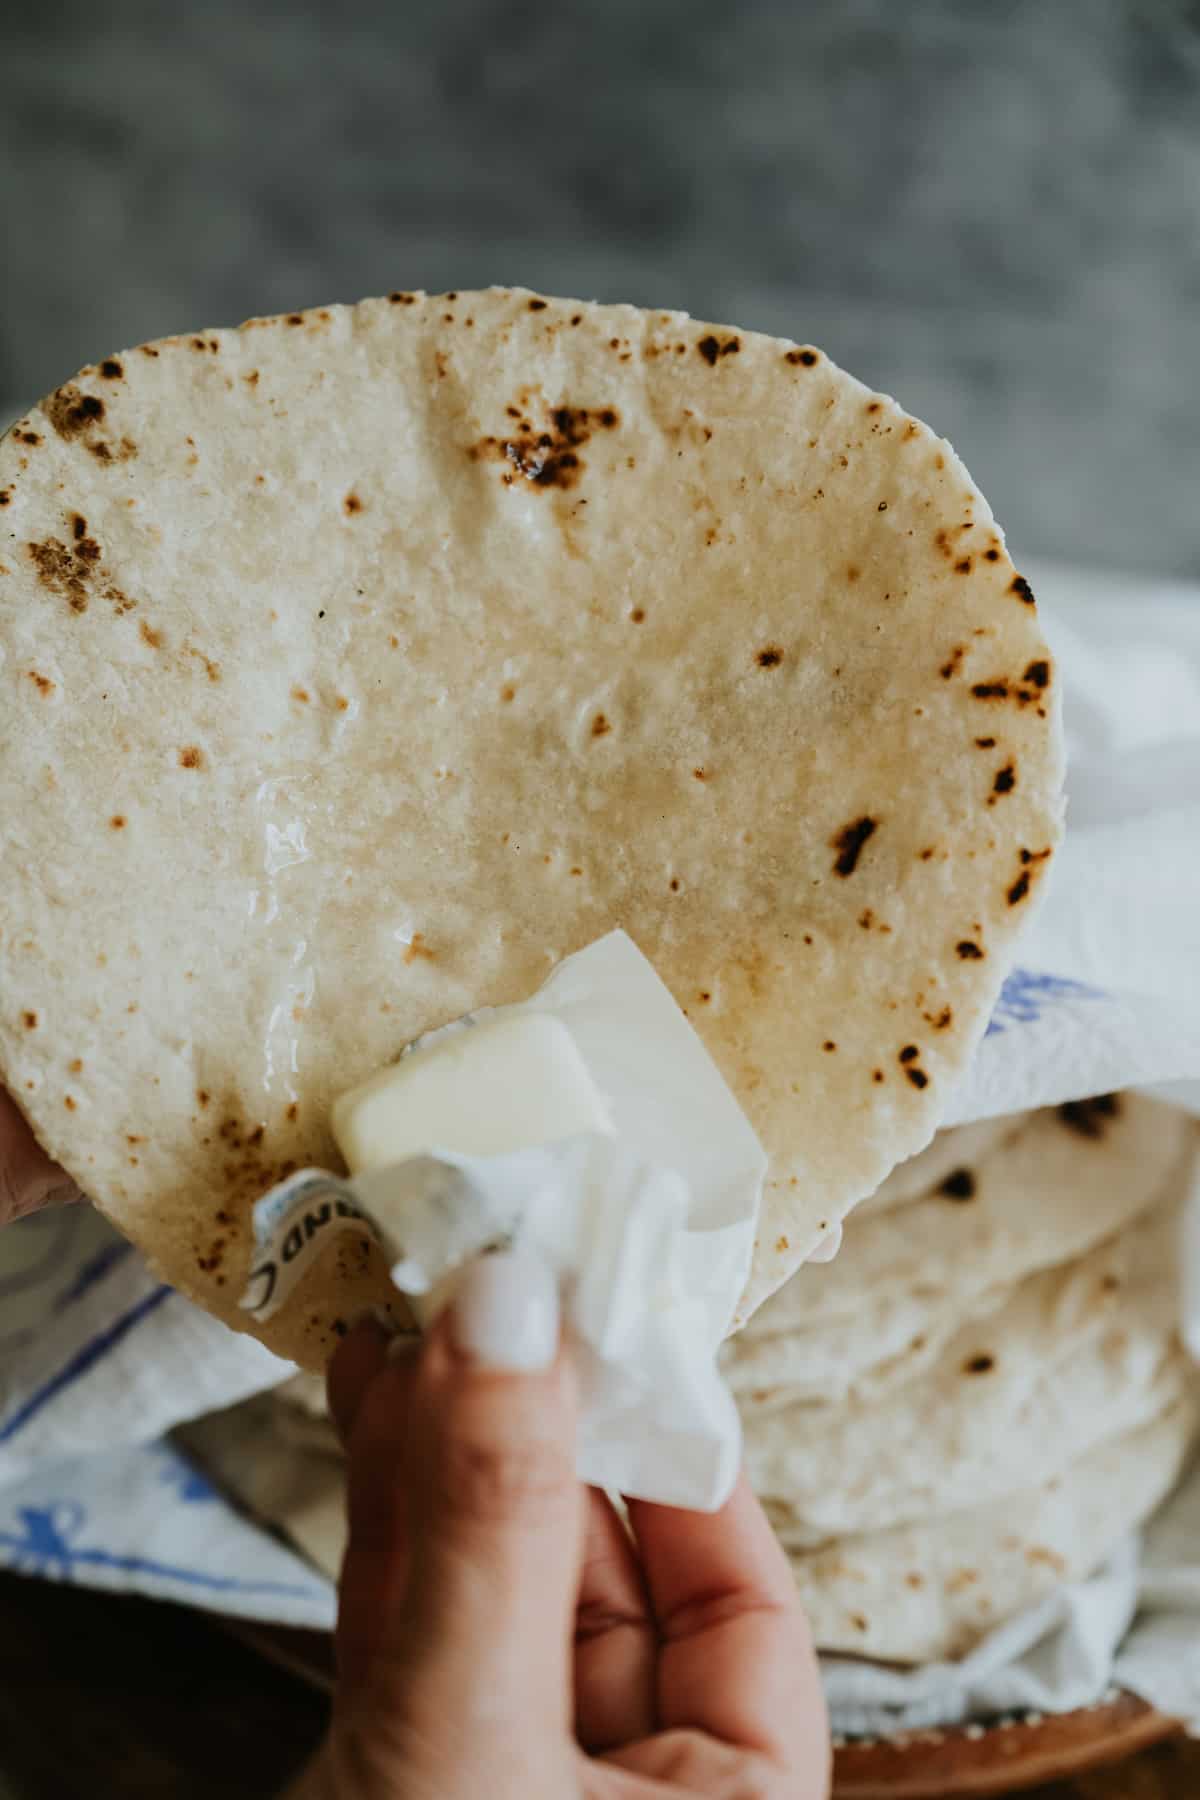
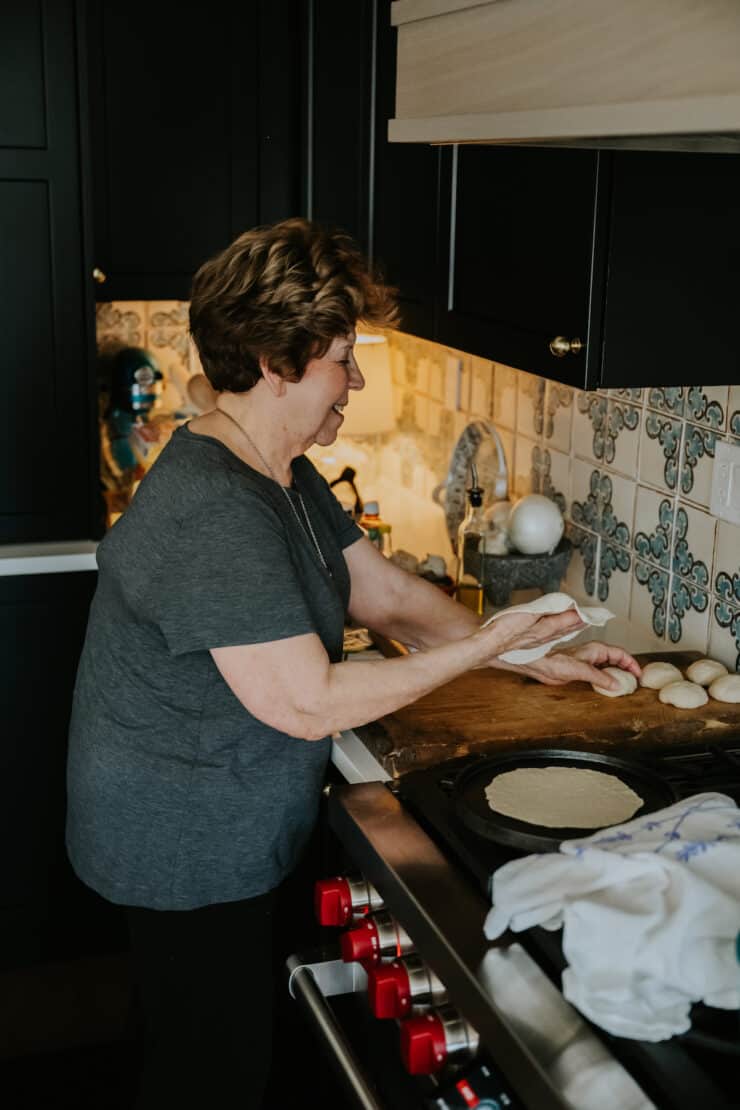
If you’d like to taste a simple slice of my history, come along with me to the kitchen. Seeing these pictures of my mom making flour tortillas from scratch, just as my grandma used to, makes my heart so very happy. Making flour tortillas at home is a labor of love and takes practice, but once you learn how, you’ll never want to buy store-bought tortillas again!
What are Flour Tortillas?
Flour tortillas are beloved Northern Mexican flatbreads that are used for everything from green chile quesadillas, chorizo egg burritos to migas breakfast tacos and are served alongside dishes like chicken fajitas.
Why You’ll Love This Recipe
Snack. From slathering with butter while warm, to adding a roasted chile strip or salsa, a simple sprinkle of salt, or for a touch of sweetness a dash of cinnamon and sugar. Every kid who grew up on the border or in Mexico has their favorite way to enjoy homemade flour tortillas.
No fancy equipment needed. That means no stand mixer or tortilla press. All you need is a mixing bowl, a rolling pin, and a cast iron comal (griddle) or skillet.
Authentic Mexican flour tortillas, just like grandma makes! Even restaurants rarely make their own flour tortillas.
Ingredients & Substitutions
The complete list of ingredients, quantities, and instructions can be found in the printable recipe card below.
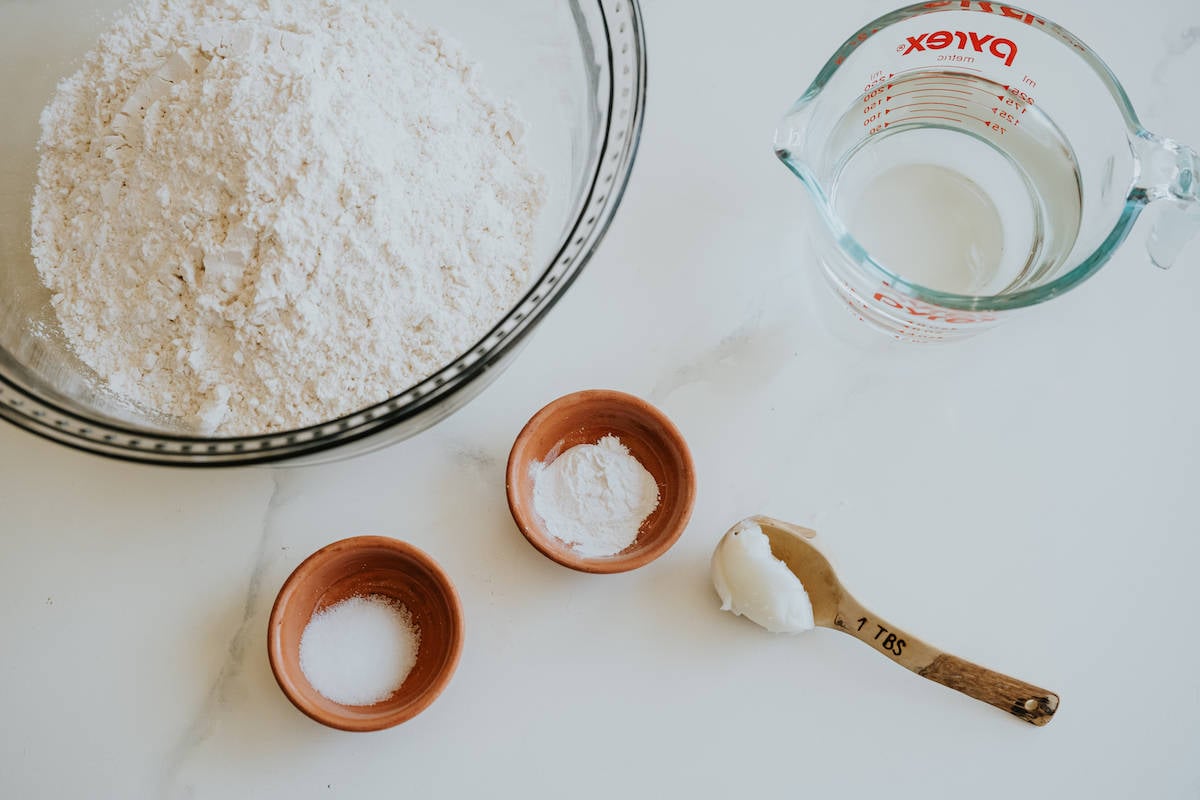
- All-Purpose Flour: This recipe is made with with basic white flour.
- Lard: My grandma always used the blue box of Morrell lard, and so do I. Pork lard is traditional for making Mexican homemade flour tortillas, but you can use an equal amount of vegetable shortening for a vegetarian version and I have heard softened butter also works well, but haven’t tried it myself.
- Baking Powder: A little bit of leavening power allows the tortillas to puff a little bit, which makes them softer and fluffier.
- Table Salt: A touch of seasoning is essential. Table salt and sea salt should be interchangeable, but if you use kosher salt, you may want to add a bit extra to account for the lower density.
- Hot Water: Using hot water helps to develop the gluten, which in turn improves elasticity. Make sure it’s warmer than lukewarm, but nowhere close to boiling, either.
How to Make Homemade Flour Tortillas
Step 1: Preheat. Place a comal (or a griddle or cast-iron skillet) over medium-high heat and allow it to heat up. Cast iron’s natural non-stick properties mean you don’t have to use any extra fat to cook them.
Step 2: Combine all the dry ingredients in a mixing bowl until uniform.
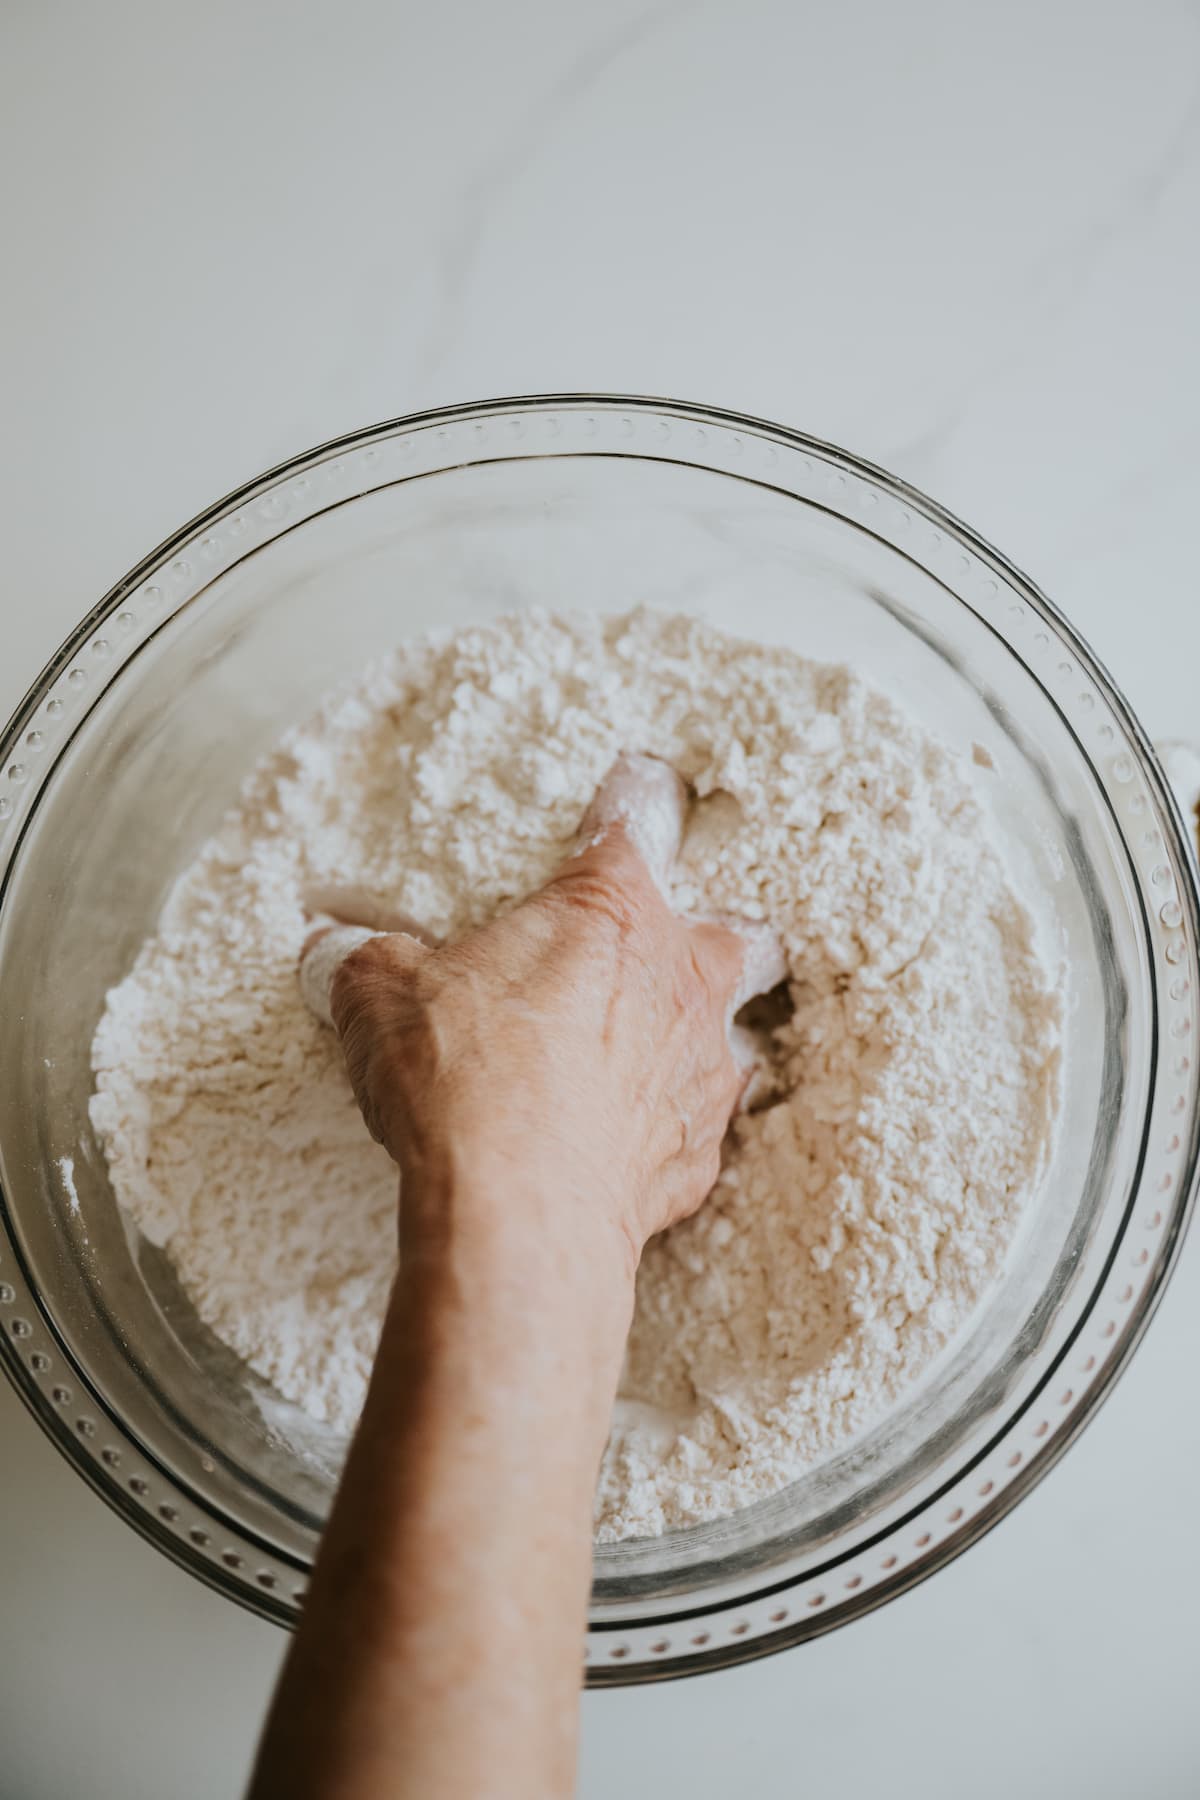
Step 3: Cut in the Lard (or shortening) and combine until you have the consistency of small crumbs.
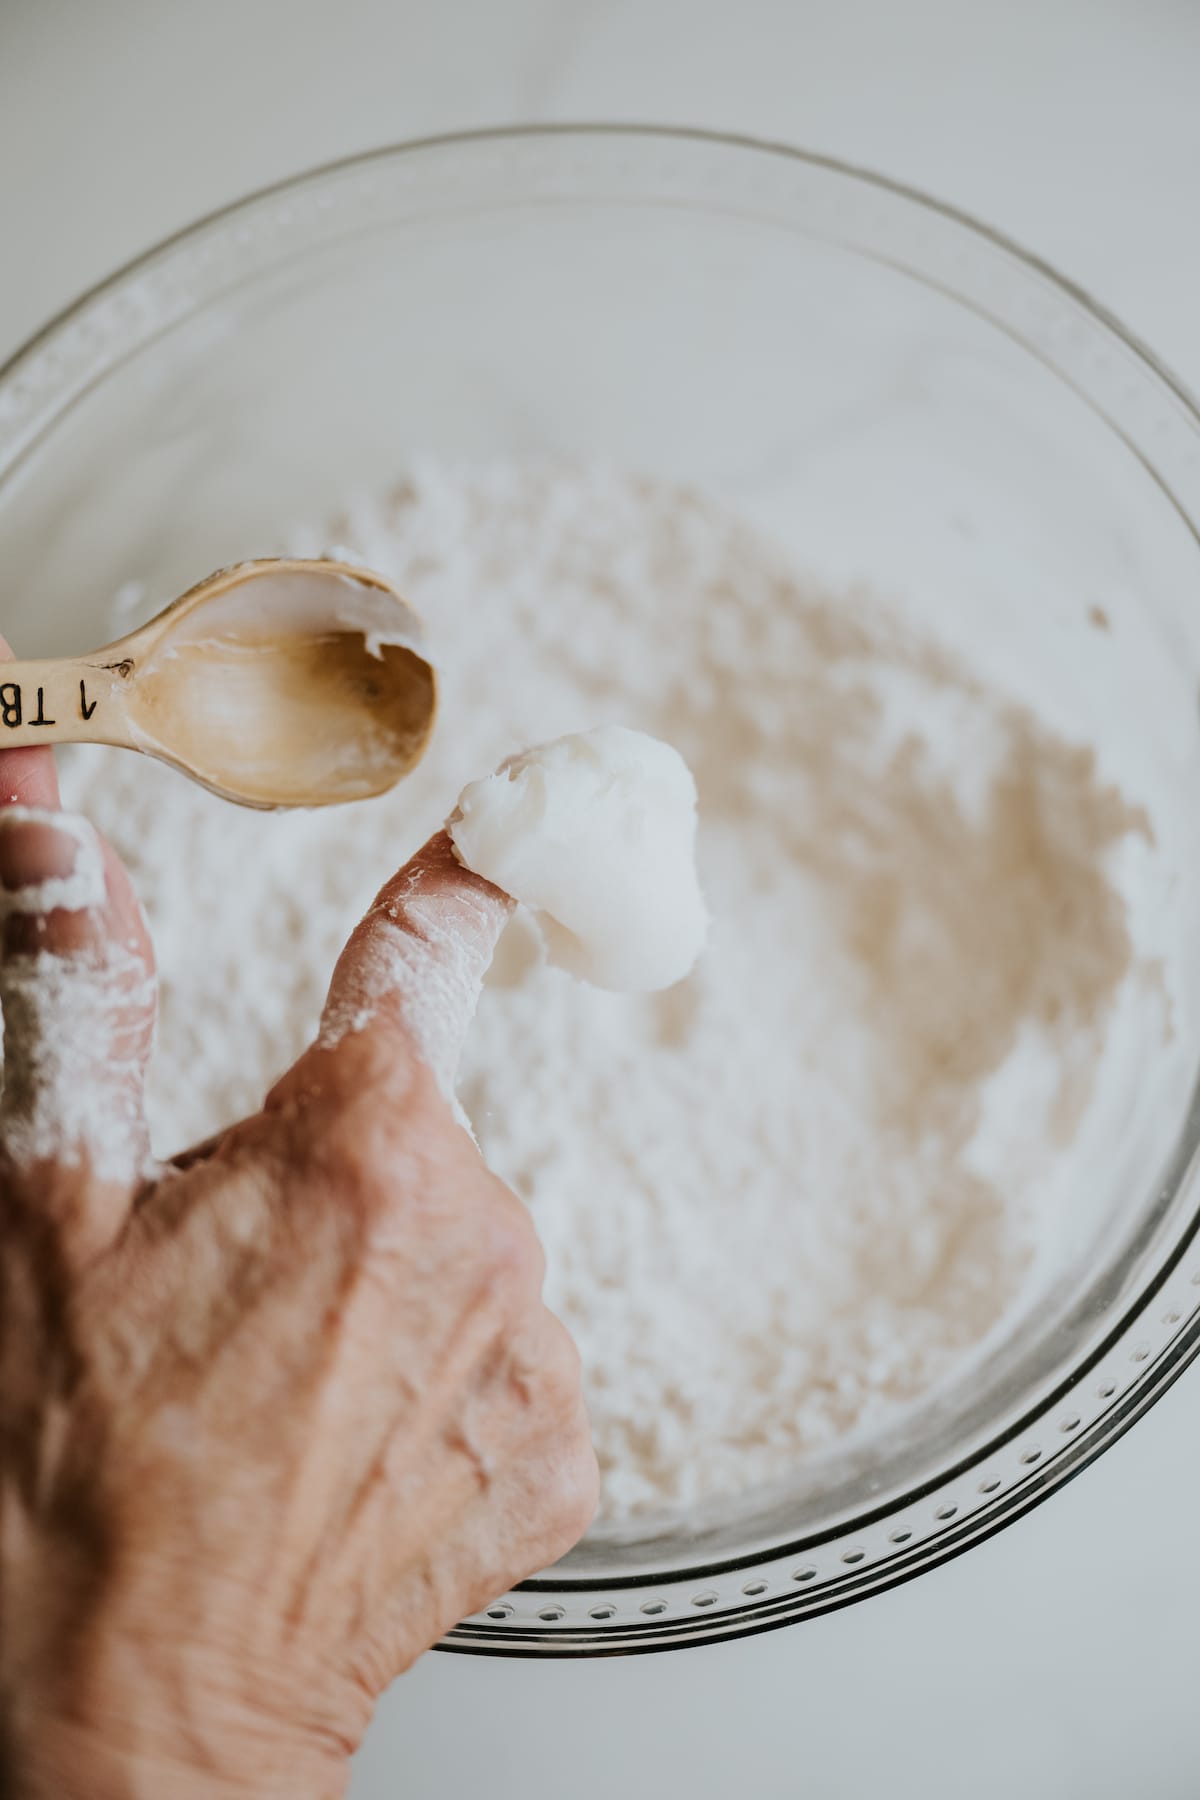
Step 4: Rough Dough. Add the hot water and mix well with your hand just until the dough comes together. The mixture may be a little sticky.

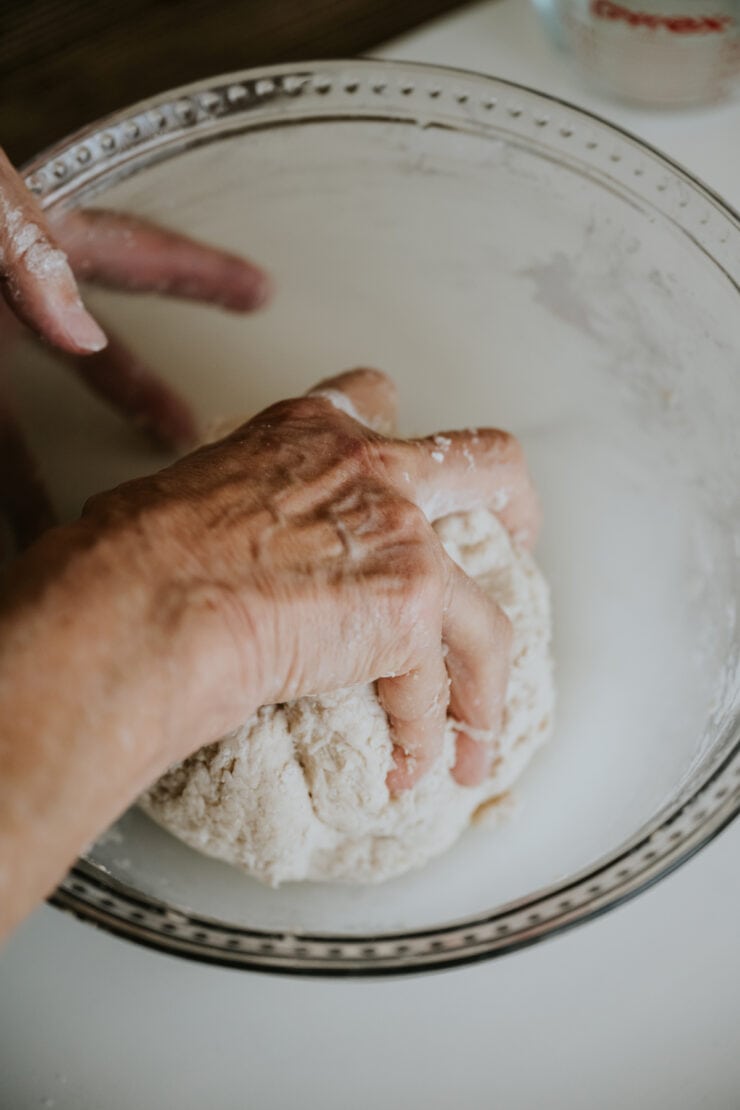
Step 5: Knead the tortilla dough on a cutting board or smooth counter until the dough is pliable and springy. Sprinkle the ball of dough and your work surface with flour if the dough is too sticky.
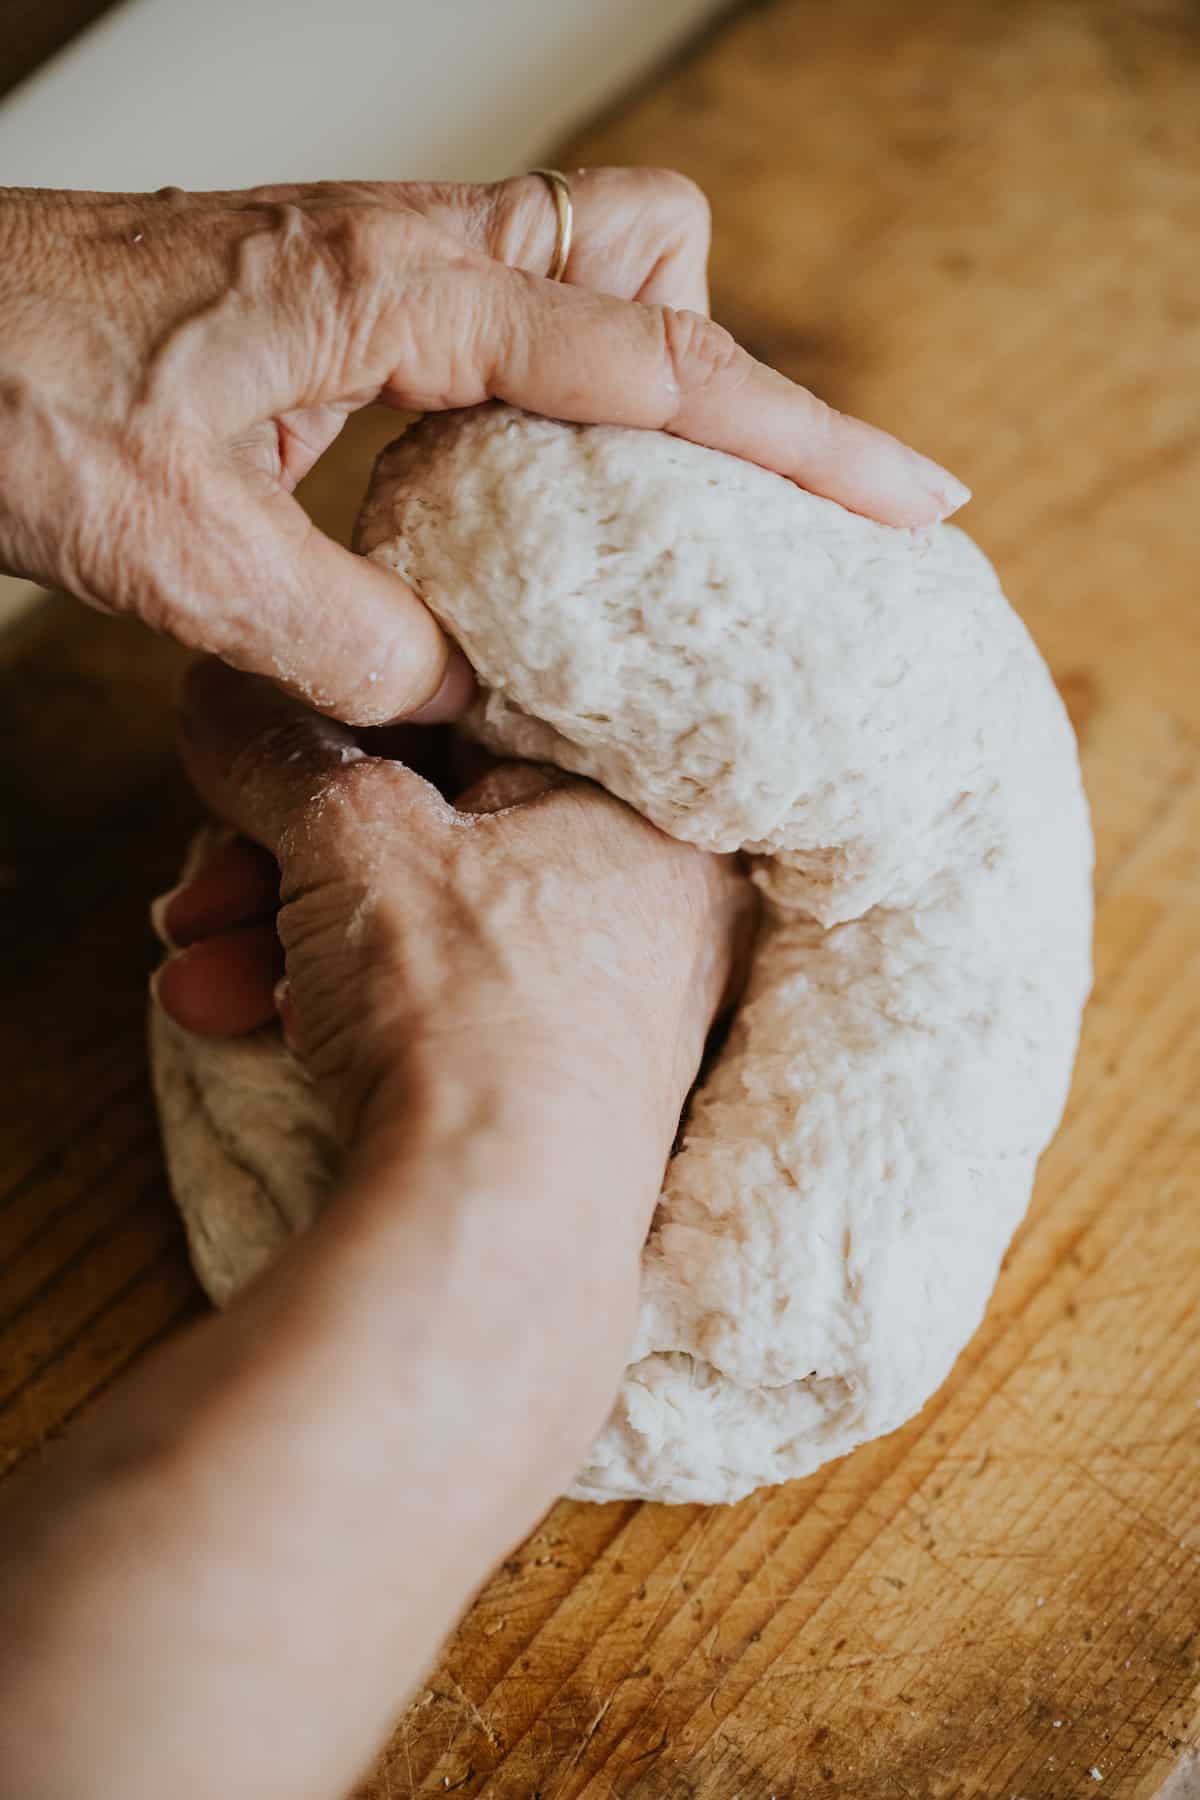
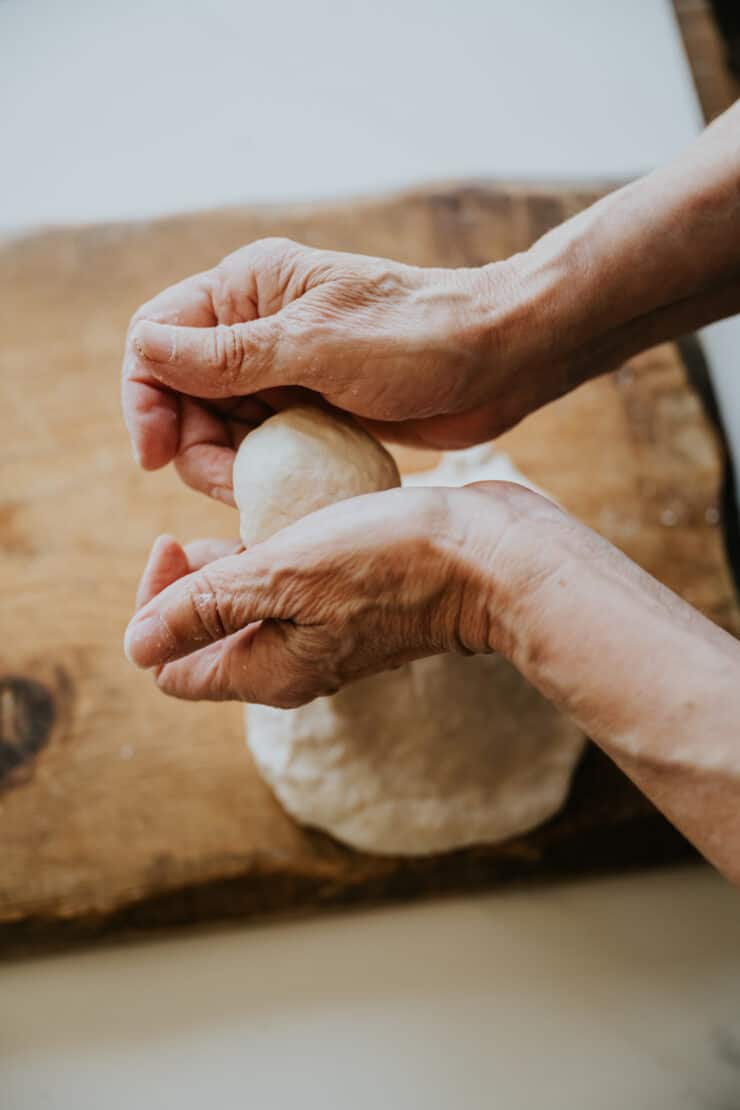
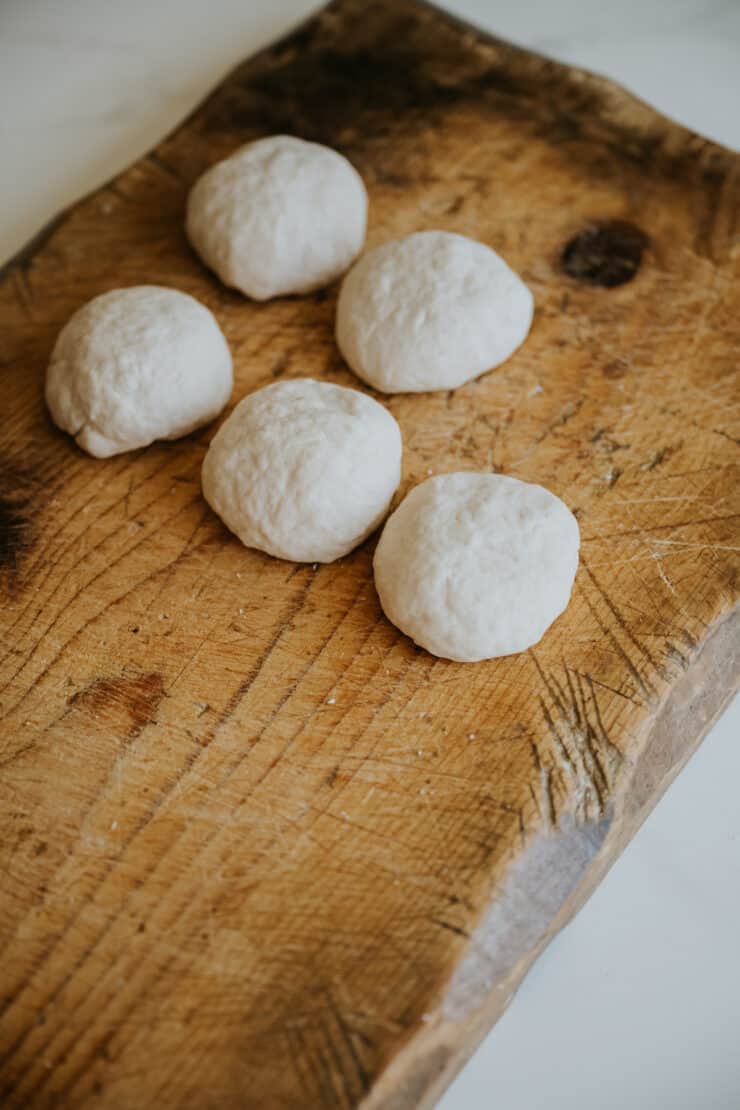
Step 6: Shape. Form 2 to 2½-inch dough balls. On a lightly floured surface, roll out the dough balls with a rolling pin to form 7 to 8-inch disks. If the dough is sticky, sprinkle board and rolling pin with flour to make it easier to roll out the dough.
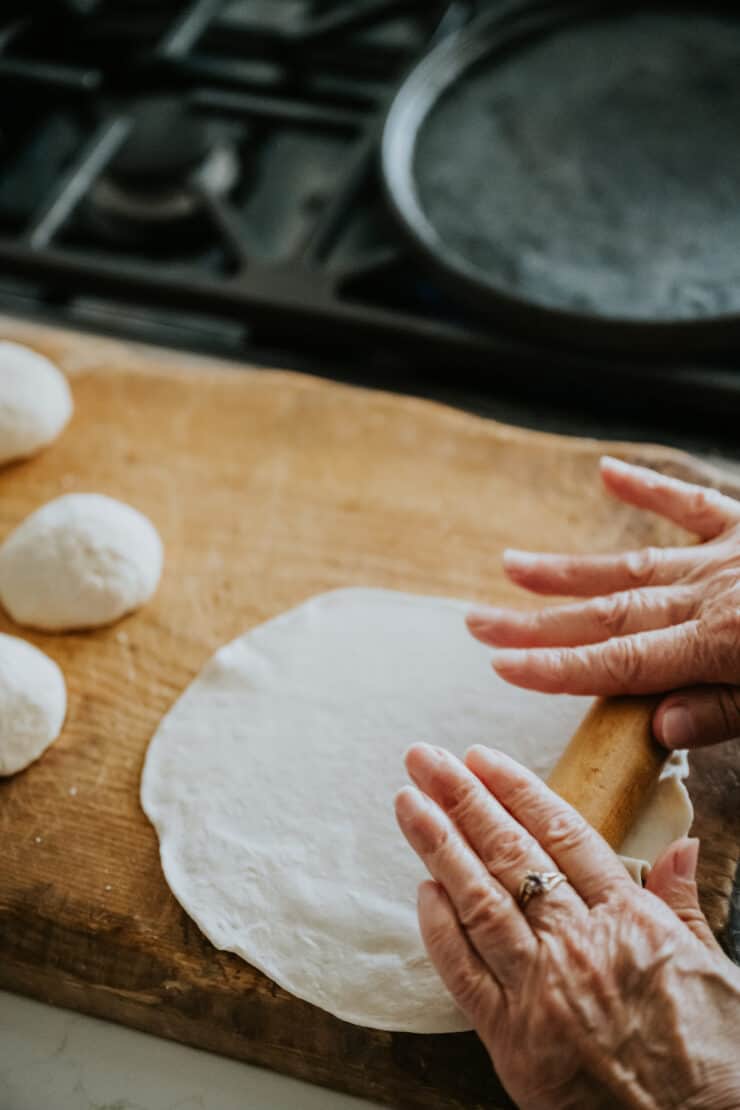
Step 7: Cook. As you roll out each disk, place on the hot comal to cook. After cooking the first side, turn tortilla over and let it cook on the opposite side. When the tortilla starts to form air pockets, gently press down on them with a rolled up kitchen towel (like Grandma did) to release the air. WARNING: Don’t press too much or too hard, or it will make tough tortillas.
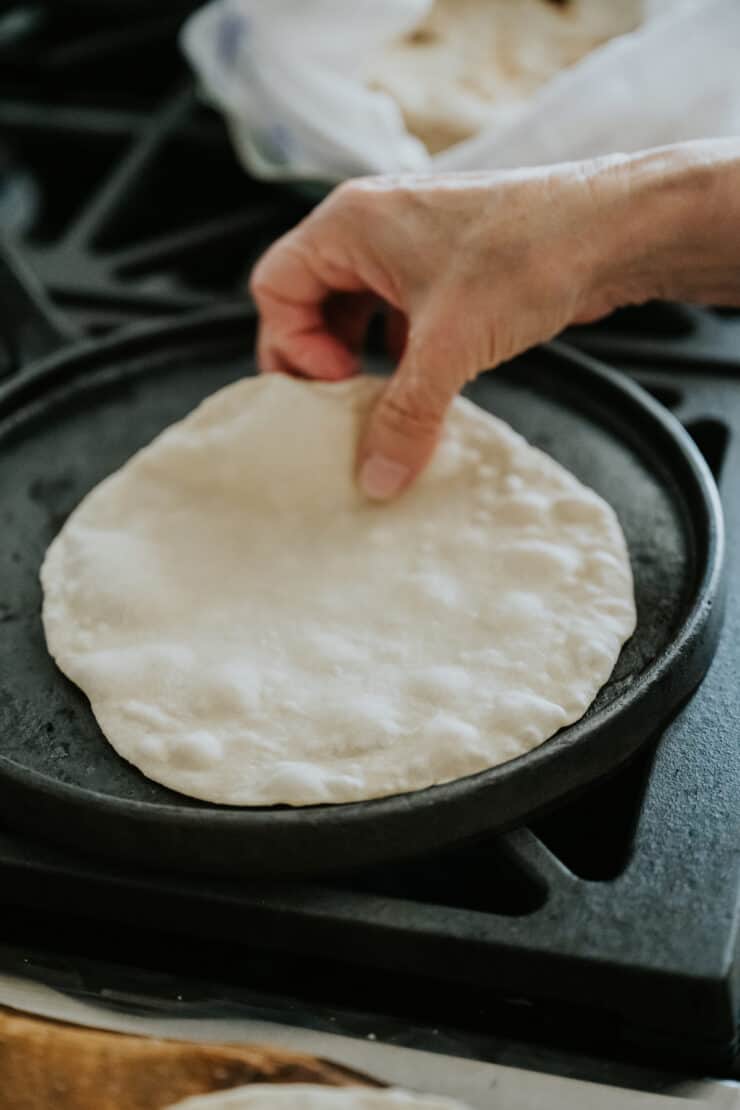
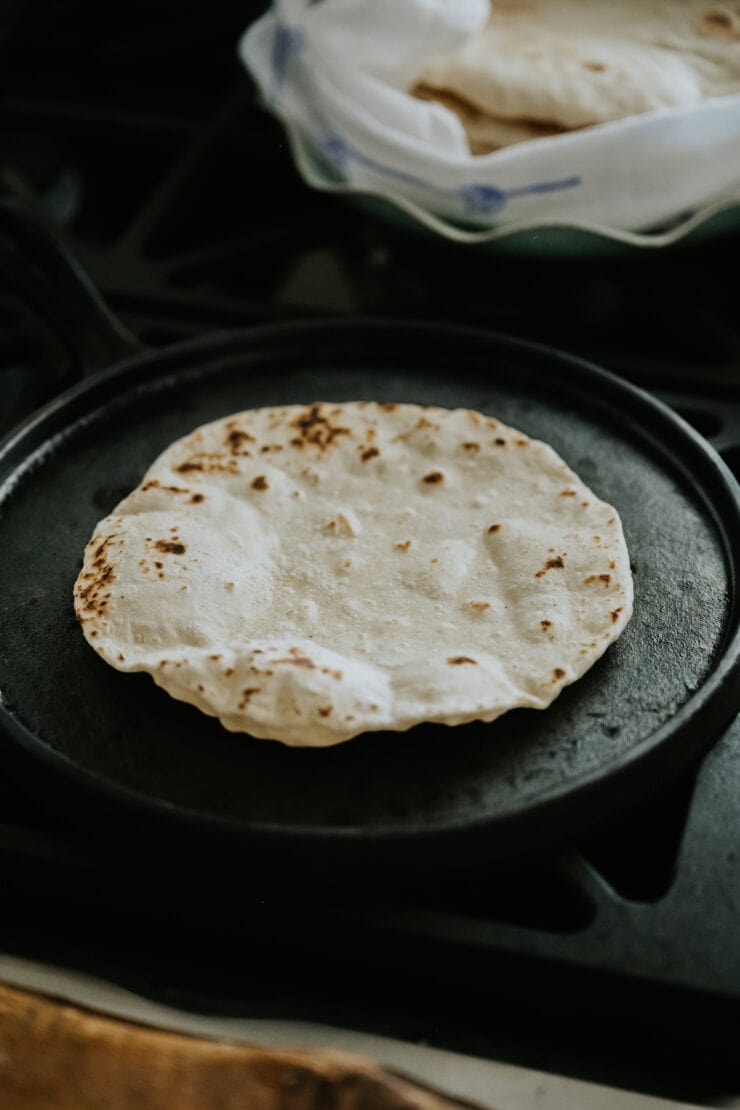
Step 8: Keep the tortillas warm in a tortilla warmer or under a clean dish towel while you roll out and cook the remaining dough balls.
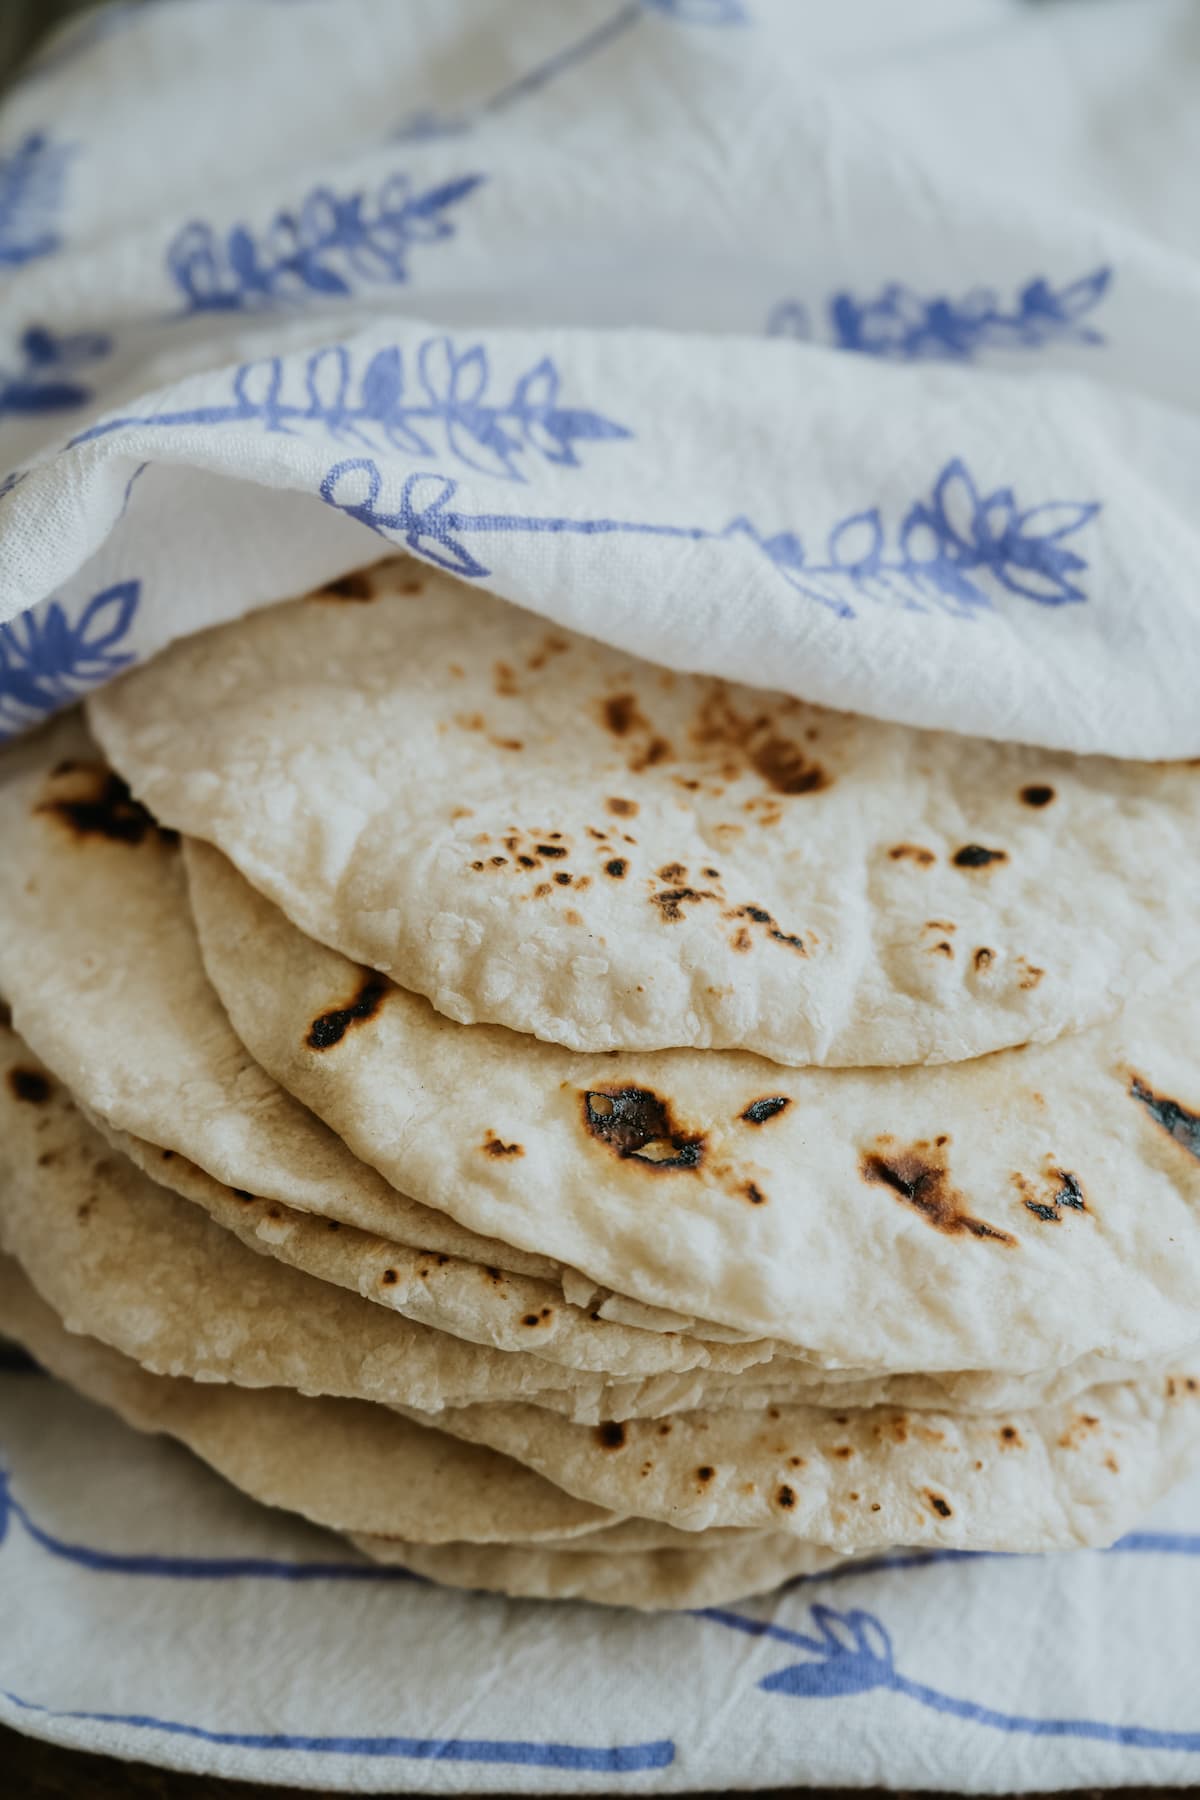
Check out this video of my mom making homemade flour tortillas to see just how easy it is to whip up a batch.
Serving & Topping Suggestions
Wondering what to make with flour tortillas next? There are TONS of recipes using flour tortillas so you’ll never get bored. Here are just a few ideas to get you started:
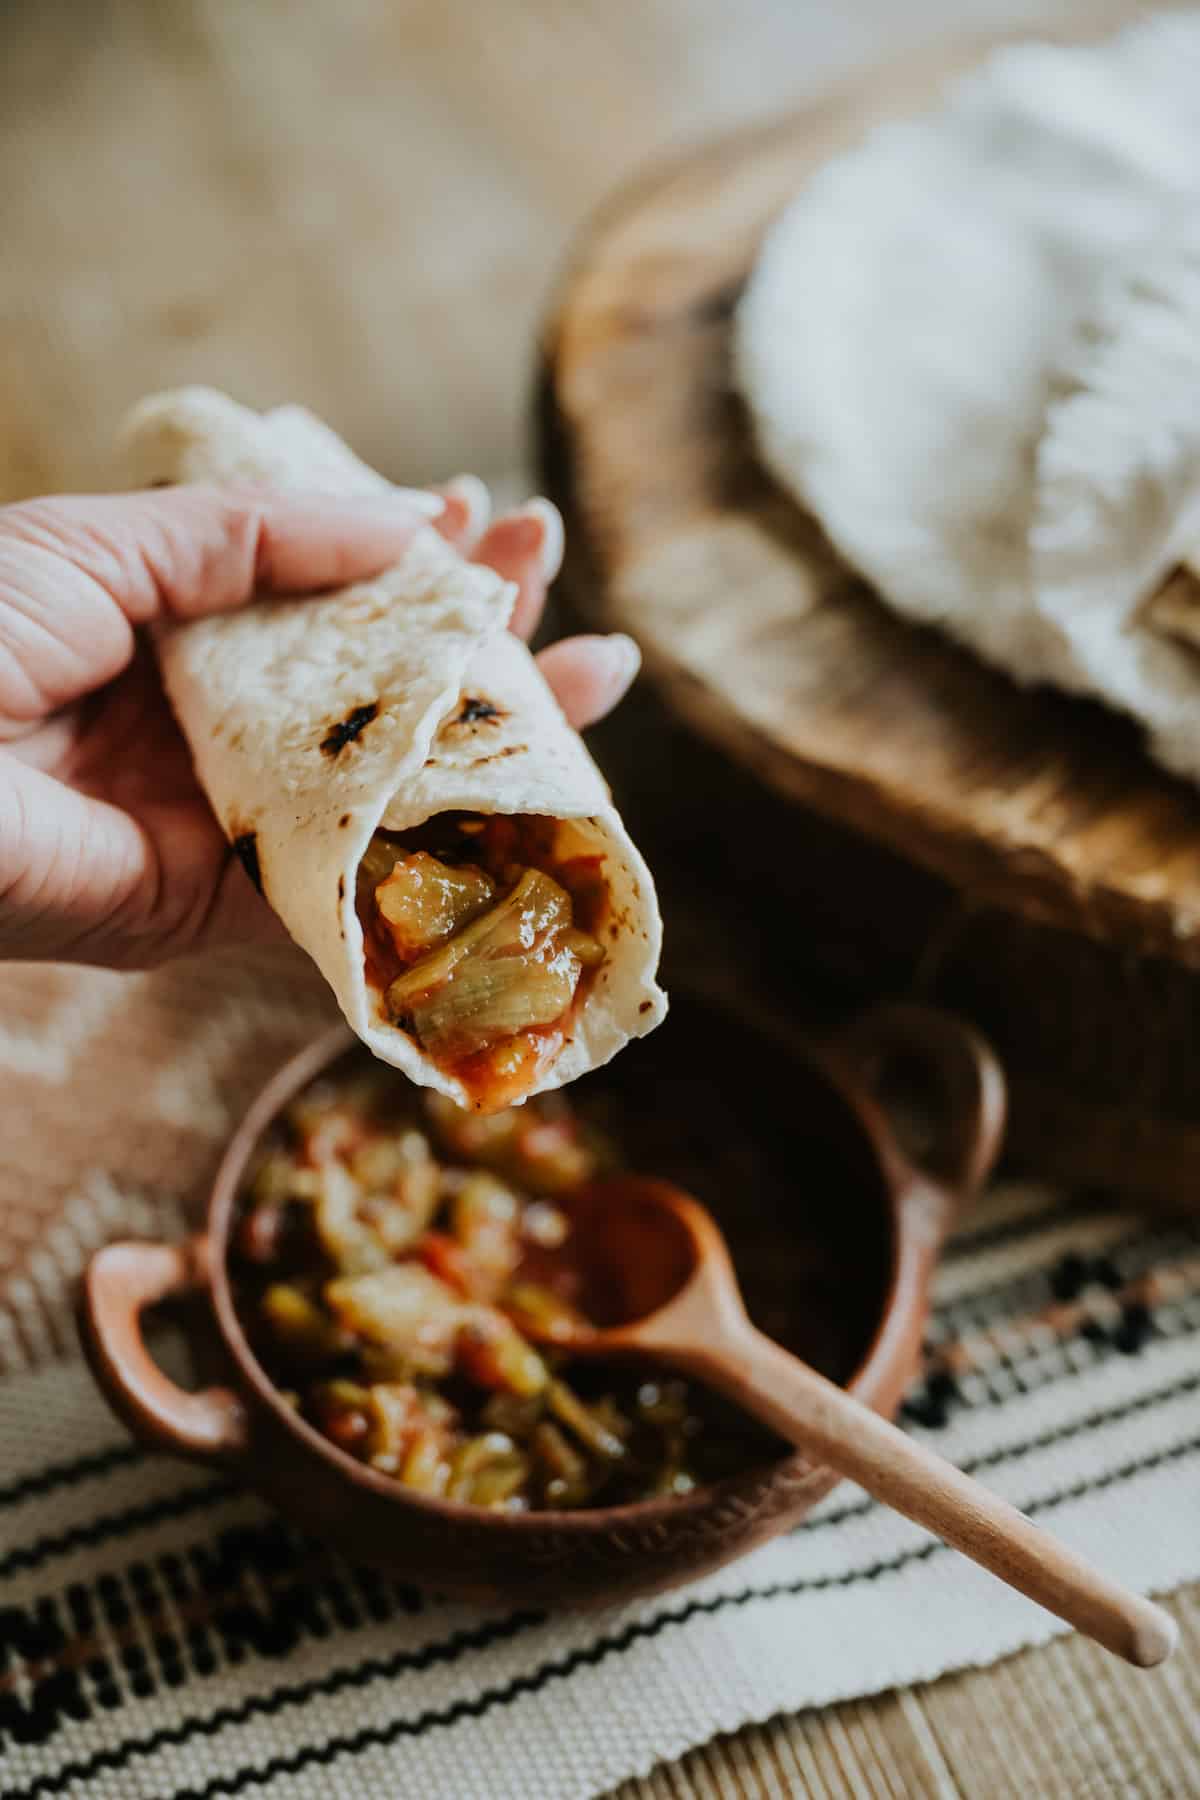
- Tacos: Using flour tortillas for taco recipes is generally only found in the northern part of Mexico and in Tex-Mex cuisine. My favorites are breakfast tacos filled with breakfast migas or machaca con huevo.
- Burritos: Spread Homemade Refried Beans on a flour tortilla with some shredded cheese for the best bean burrito. Or make Egg and Chorizo Breakfast Burritos by combining scrambled eggs and chorizo in your fluffy homemade flour tortillas, then wrapping them up for the freezer. They’re the perfect on-the-go meal. For an even heartier option, tuck cheesy Chiles Rellenos and refried beans into a flour tortilla for my all-time favorite road trip meal.
- Dessert: Want a fun dessert option? Try these Mini Tortillas with Ricotta Cheese and Grilled Peaches for a sweet and savory snack that reminds me of my grandma.
- Snack: My favorite way to eat a fresh warm tortilla is with butter, but I also love a warm tortilla with a roasted chiles or homemade salsa casera, and rolled into one perfect spicy snack.
- Side: Steak Fajitas, Sheet Pan Fish Fajitas, or Chicken Fajitas stuffed into fresh flour tortillas with plenty of guac, sautéed peppers, onions, and salsa? You can’t go wrong. Fajitas are always a hit.
Mexican Flour Tortillas Expert Tips & Tricks
Use hot water & a hot comal: Warm water (hot to the touch, not scalding) helps the dough come together smoothly. A preheated comal is key for getting puffy tortillas with golden brown blisters.
Roll them thin: Aim for tortillas about 7–8 inches wide. They don’t need to be perfectly round! Thicker tortillas won’t be as tender.
Rest the dough: If the dough keeps shrinking as you roll, let it rest covered for 10–15 minutes so the gluten can relax.
Avoid overcooking: Stiff tortillas usually mean they were overcooked, cooked at too low a heat, or pressed too much with a towel. Cook just until bubbles form and light brown spots appear on both sides.
Flour as needed: If the dough is sticky, lightly flour your surface and rolling pin—but don’t overdo it.
Take your time: If you’re new to making tortillas, focus on one step at a time. They cook quickly—just about 1 minute per side.
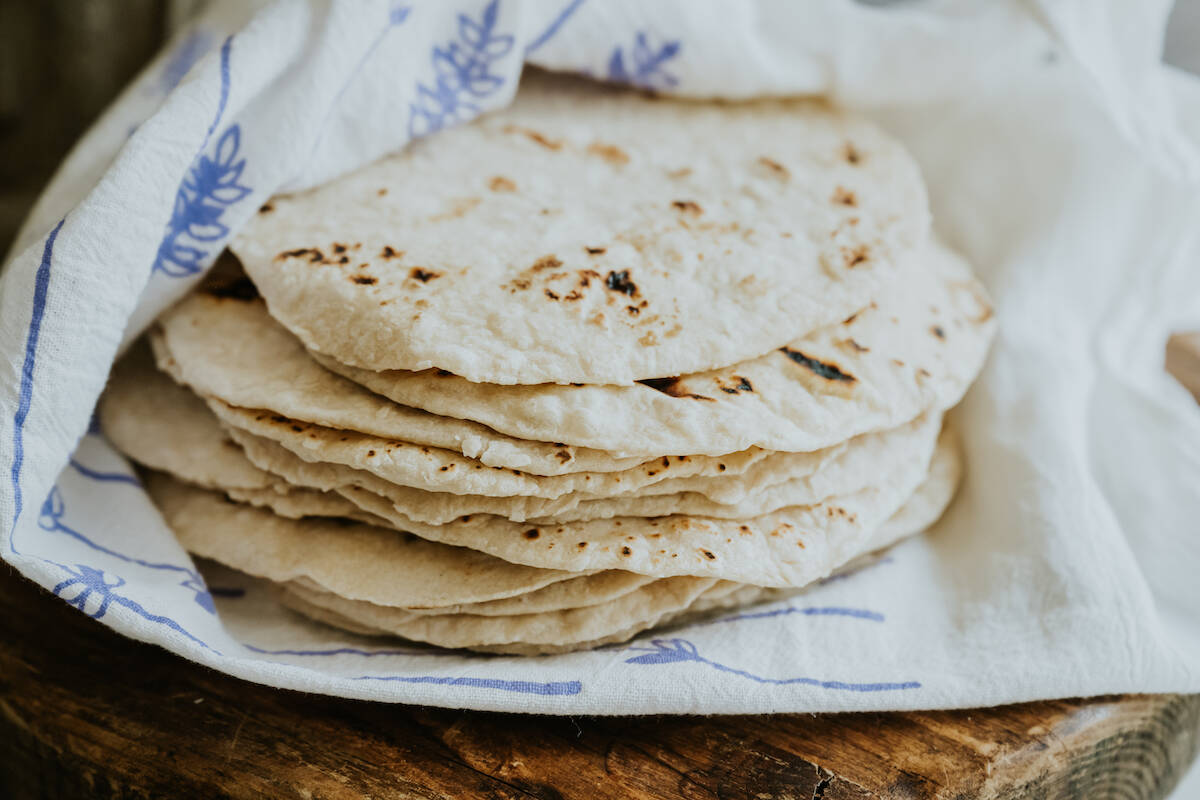
Keep them covered: Stack tortillas under a kitchen towel as they cook. The steam keeps them soft and pliable.
Storage & Heating Instructions
When it comes to these soft flour tortillas, you have a few options: Serve immediately or refrigerate and reheat.
- Fresh from the pan or stack. Keep tortillas warm and covered. Wrap tortillas in a dish towel or keep them in a tortilla warmer to keep them warm and pliable throughout the day. They can be left out at room temperature for up to 2 days.
- Refrigerate. Store any leftovers in a ziplock bag (with the excess air pressed out) in the refrigerator for up to 5 days.
- Freeze. You can also freeze flour tortillas for up to 6 weeks. If you go this route, I recommend cooling the tortillas in a single layer, then separating the tortillas with pieces of parchment or wax paper before stacking. This will help them from sticking together in the freezer, so you can just pull out what you need as you need it.
- Reheat on a comal or cast iron skillet over medium heat until pliable. I beg you, please do not reheat flour tortillas in a microwave.
Frequently Asked Questions
Absolutely! Homemade flour tortillas are delicious—softer, chewier, and full of flavor in a way that store-bought just can’t match. Once you taste a warm, freshly made tortilla, you’ll see why so many people say they’re worth the effort. Whether you’re making tacos, burritos, or just eating them with butter, homemade is the way to go!
This recipe is made with with basic white all-purpose flour.
Fat makes these homemade tortillas soft and pliable, you need some fat in the dough. This recipe calls for lard, but feel free to use butter, oil, or shortening.
Yes, a little bit of leavening power allows the tortillas to puff a little bit, which makes them softer and fluffier.
I recommend using lard, just like my grandma did—it gives the best texture and flavor. For a more neutral taste, use shelf-stable lard; for a richer flavor, use fresh lard or even bacon fat. If you’re making vegan tortillas, vegetable shortening works great as a 1:1 substitute. Butter and oils can throw off the texture since they change the fat-to-flour ratio. Stick with a solid fat for the best results!
It depends on the recipe, but my abuela’s best flour tortillas recipe is made with just all-purpose flour, salt, baking powder, lard or shortening, and water.
Since there is no yeast in this dough, there may be no need to let the dough rest. But, that doesn’t mean you don’t have to. If you try rolling out tortillas and the dough keeps shrinking back, cover the dough with a towel and let it rest for 10-15 minutes to give the gluten some time to relax.
There are tons of options! You can refrigerate or freeze them, or use them in recipes where stale tortillas are a benefit (e.g. for making tortilla chips or red chilaquiles for a crowd).
Flour tortilla dough is softer and more elastic than corn tortilla dough because it contains gluten. The presence of gluten means the dough tends to spring back when pressed, making it difficult to achieve a thin, even shape with a press. Instead, rolling them out with a rolling pin allows for better control over the thickness and ensures that the tortillas are evenly thin and round.
More Mexican Basics
Did you make this Homemade Flour Tortilla recipe? Don’t forget to give it a star rating below and leave me a comment to let me know how it turned out!

Homemade Flour Tortillas
Ingredients
- 4 cups all-purpose flour
- 3/4 teaspoon baking powder
- 1 1/8 teaspoon salt
- 2 tablespoons lard or shortening
- 1 1/4 cups hot water
Instructions
- Place a (griddle or cast-iron skillet) over medium-high heat and allow it to heat up.
- In a bowl combine all the dry ingredients. Add the lard or shortening and combine until you have the consistency of small crumbs.
- Add the hot water and mix well with your hand. The mixture may be a little sticky. Knead on a cutting board or smooth counter until dough is pliable and springy. Sprinkle with flour if the dough is too sticky.
- Form 2 to 2½-inch dough balls. With a rolling pin, roll out the dough balls to form 7 to 8-inch disks. If the dough is sticky, sprinkle board and rolling pin with flour to make it easier to roll out the dough.
- As you roll out each disk, place on the hot comal to cook, it will take 1 minute or less on each side. After cooking the first side, turn tortilla over and let it cook on the opposite side; when tortilla starts to form air pockets press down gently on it with a rolled up kitchen towel (like Grandma did) to release the air. Don’t press too much, or it will make tough tortillas.
- Keep the tortillas warm in a tortilla warmer or under a clean dish towel while you make the rest.
Video
Notes
- Hot water and hot comal: Using both hot water and a hot comal is super important! The water should feel hot to the touch, but not so hot that it will burn you. And a preheated comal is essential to getting puffy tortillas with beautiful golden brown blisters.
- Roll thin: Roll the tortillas fairly thin — about 7-8 inches in diameter. Don’t worry if they are not perfectly round. Thick tortillas won’t be as tender.
- Let dough rest: If you try rolling out tortillas and the dough keeps shrinking back, cover the dough with a towel and let it rest for 10-15 minutes to give the gluten some time to relax.
- Warning: If your tortillas feel stiff after cooking, you’ve cooked them too long, the heat was not high enough, or you pressed them too many times with a towel while cooking. Cook them only long enough to get some nice bubbles on the surface and a few light brown spots on each side.
- Floured work surface: If the tortilla dough is sticky, start with a lightly floured work surface. I also like to lightly dust my rolling pin with some flour.
- Patience: If it is your first time making tortillas, you might not want to multitask between rolling and cooking since the process goes fast — it will take 1 minute or less on each side to achieve the coveted golden brown spots.
- Keep covered: Stacking the tortillas allows the tortillas to steam. Keep them covered with a kitchen towel which will help them to be soft and pliable.
- Fresh from the pan or stack. Keep tortillas warm and covered. Wrap tortillas in a dish towel or keep them in a tortilla warmer to keep them warm and pliable throughout the day. They can be left out at room temperature for up to 2 days.
- Refrigerate. Store any leftovers in a ziplock bag (with the excess air pressed out) in the refrigerator for up to 5 days.
- Freeze. You can also freeze flour tortillas for up to 6 weeks. If you go this route, I recommend cooling the tortillas in a single layer, then separating the tortillas with pieces of parchment or wax paper before stacking. This will help them from sticking together in the freezer, so you can just pull out what you need as you need it.
- Reheat on a comal or cast iron skillet over medium heat until pliable. I beg you, please do not reheat flour tortillas in a microwave!
Nutrition
Nutrition information is automatically calculated, so should only be used as an approximation.
Photos by Jeanine Thurston / Video by Pure Cinematography
Originally published: November 2013. This recipe is also published in the Muy Bueno cookbook.



YummO! I’ve tried a recipe that added powdered milk and they were ok. Why would you add powdered milk anyway? Maybe for protein? Just curious. I can’t wait to try this recipe especially after such a detailed video. I loved how your mom put the lard into the dry ingredients but to the side of the mixing bowl until she thoroughly mixed in all the dry ingredients first. Then she worked it in. Then she hand kneaded each pinched off “ball” of perfect size before rolling each out. I’m wondering what wood the rolling pin was usually made of… Then flattening out the bubbles as they were cooked! WOW! Wonderful video! Watching over and over again. Thank You and your mom!
I add alittle coconut milk. Makes the dough silky pliable for making huge burrito size tortillas.
Just 1 tbsp of lard? I use a 1/3 cup to 3 cups of flour. Just wondering if that’s the correct amount of lard.
Love, love, love this! What a beautiful video, too!
Thanks Kelly! I wish my mom lived nearby so she can be in more videos. Your videos really inspire me so your compliments are truly special. Gracias.
Lovely! Made me a bit teary eyed thinking of my grandma. She never measured a single thing and I always wondered how she made such amazing food-this video brought her close to mind and heart, she made flour tortillas with love and joy.
Thank you Bernadine. My grandma and mom never measured anything either. It took my mom many tries to get recipe just right and having to stop and measure it all. So glad we now have exact measurement to share.
Great tutorial, and your mom is so cute! You should send it to a certain Argentinian TV chef making the rounds on social media these days. 😉
Great video!
It made my day when I saw your ma making the tortillas. It so reminded me of my time in the kitchen with my ma and sisters. Great times around the kitchen table laughing and poking fun at our tortilla skills along with anything else that just happen to be a topic at the time.
We always tried to make our ma pick one of us as the best daughter with the best tortilla making skill……she was very wise and always pick all of us sisters. 🙂
Yvette, this is a great recipe from your cookbook and the video helped me fill in a few small gaps in my understanding of the technique. Next time I make them I’ll be sure to use the towel to press down some of the bubbles. Also the way your mother rolled the tortillas taught me a lot. Your mom is a star- great video from you both!
¡Hola! ¡Qué lindo el video de su mamá! ¿Puede Ud. compartir el nombre de la canción que toca en el video? Me encanta la guitarra española y me gustaría usar esta música en mis clases de Zumba para descansar después de la clase. ¡Mil gracias!
Gracias Krista!
La cancion se llama Charango:
https://www.pond5.com/stock-music/158035/charango.html
You know that this is my favorite recipe in your book. I have told everyone who will listen to give it a try and never buy store bought again. I just need to work on my technique a bit. These are delicious no matter what the shape!
Love your blog. Found some great recipes I’ve always wanted to have. Great tortilla recipe. They’re exactly like the ones my mom taught me to make. I just wanted to say that after I knead my dough I cover it and let it rest about 5 to 10 minutes and it’s usually easier to work with. Also, humidity and altitude can effect your dough and can cause you to need more or less water.
Hi Yvonne,
Thank you! You are absolutely right about humidity and altitude affecting the dough — thanks for making that point 😉
Keep in touch!
Can not wait to try to make these. I tried to get my grandma to teach me how to make homemade flour tortillas and her tamales. I even purchased all the ingredients. She made them without me, then got too sick to ever show me 🙁 . Thank you for your shared recipes.
Mine came out kind of hard and crisp. What did I do wrong? I followed the recipes to the tee.